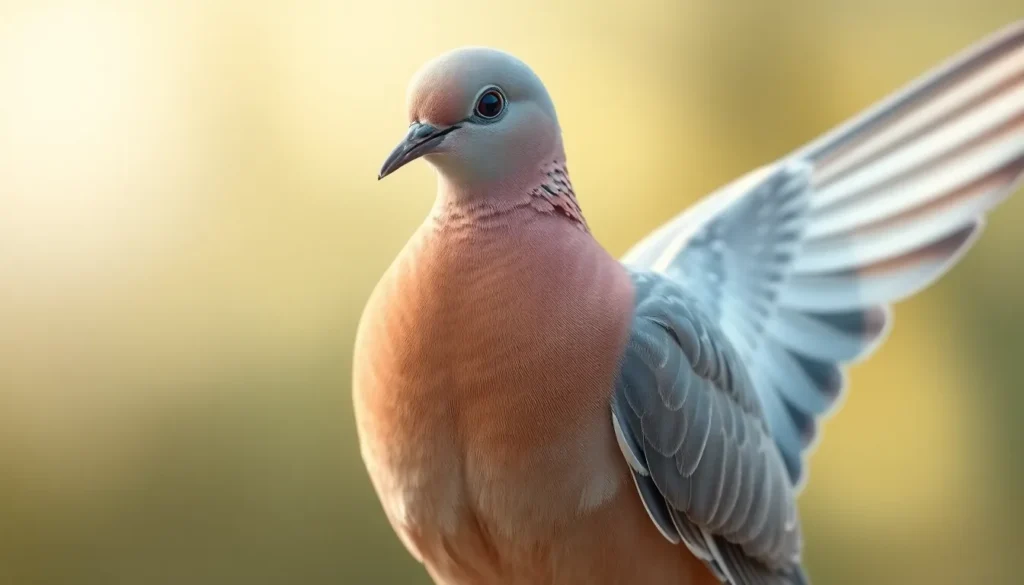
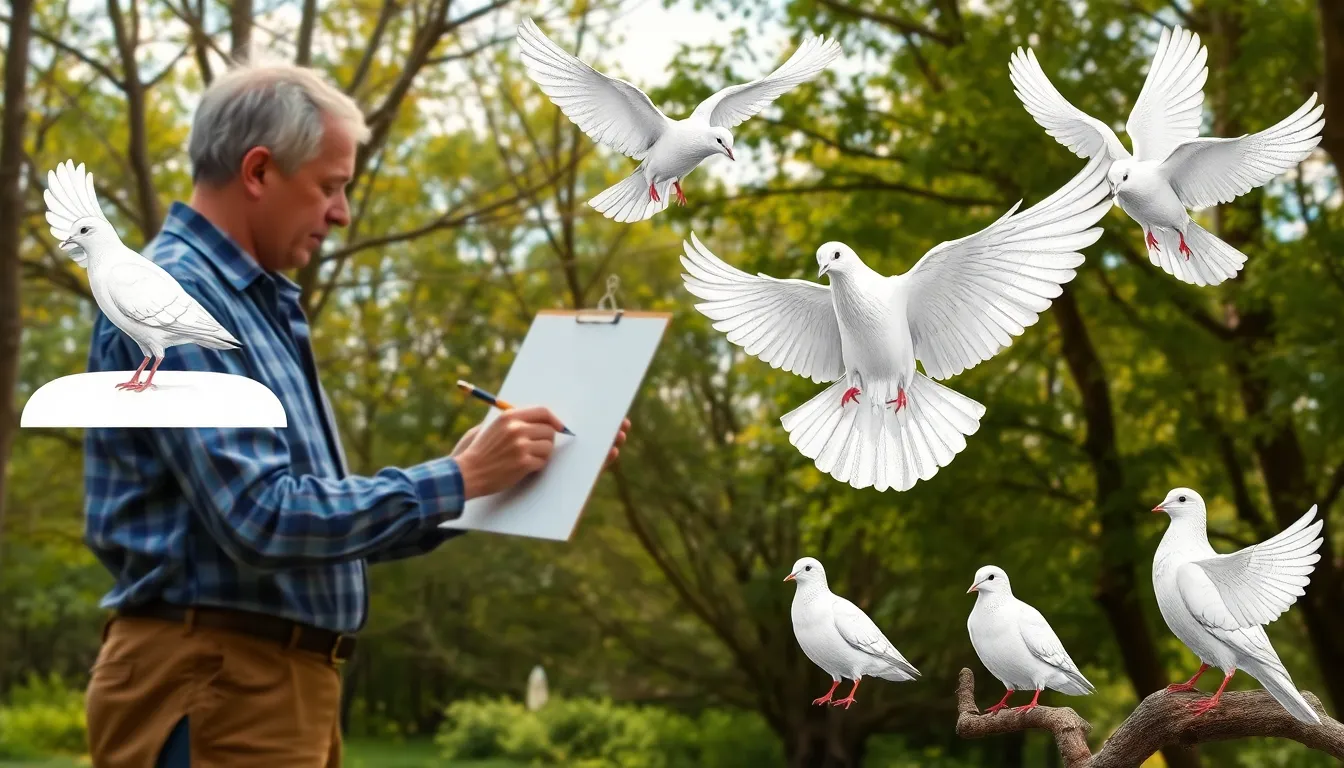
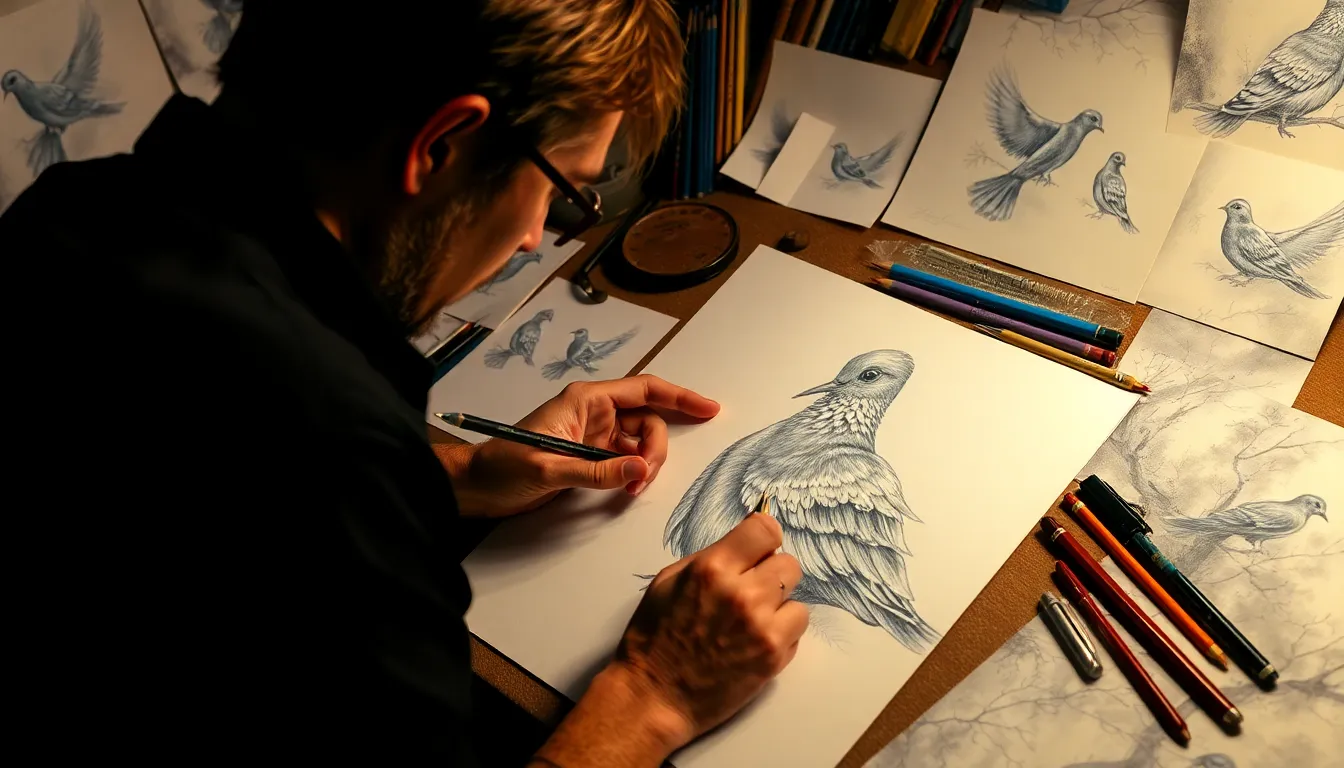
Drawing doves captures one of nature’s most beloved symbols of peace and grace. We’ve all admired these gentle birds with their soft curves and elegant proportions but translating their beauty onto paper can feel challenging at first.
Whether you’re a beginner picking up a pencil for the first time or an experienced artist looking to refine your technique, mastering dove bird drawing opens doors to countless creative possibilities. From simple sketches to detailed illustrations, these graceful creatures offer the perfect subject for developing your artistic skills.
We’ll guide you through proven techniques that make drawing doves both enjoyable and rewarding. You’ll discover how to capture their distinctive features, understand their anatomy, and bring life to your artwork with confidence. Let’s transform your artistic vision into stunning dove drawings that truly soar off the page.
Getting Started With Basic Dove Bird Drawing Materials
Selecting proper materials forms the foundation for successful dove bird drawings. We’ll explore essential supplies that help capture the delicate features and soft textures characteristic of these graceful birds.
Essential Drawing Pencils and Paper
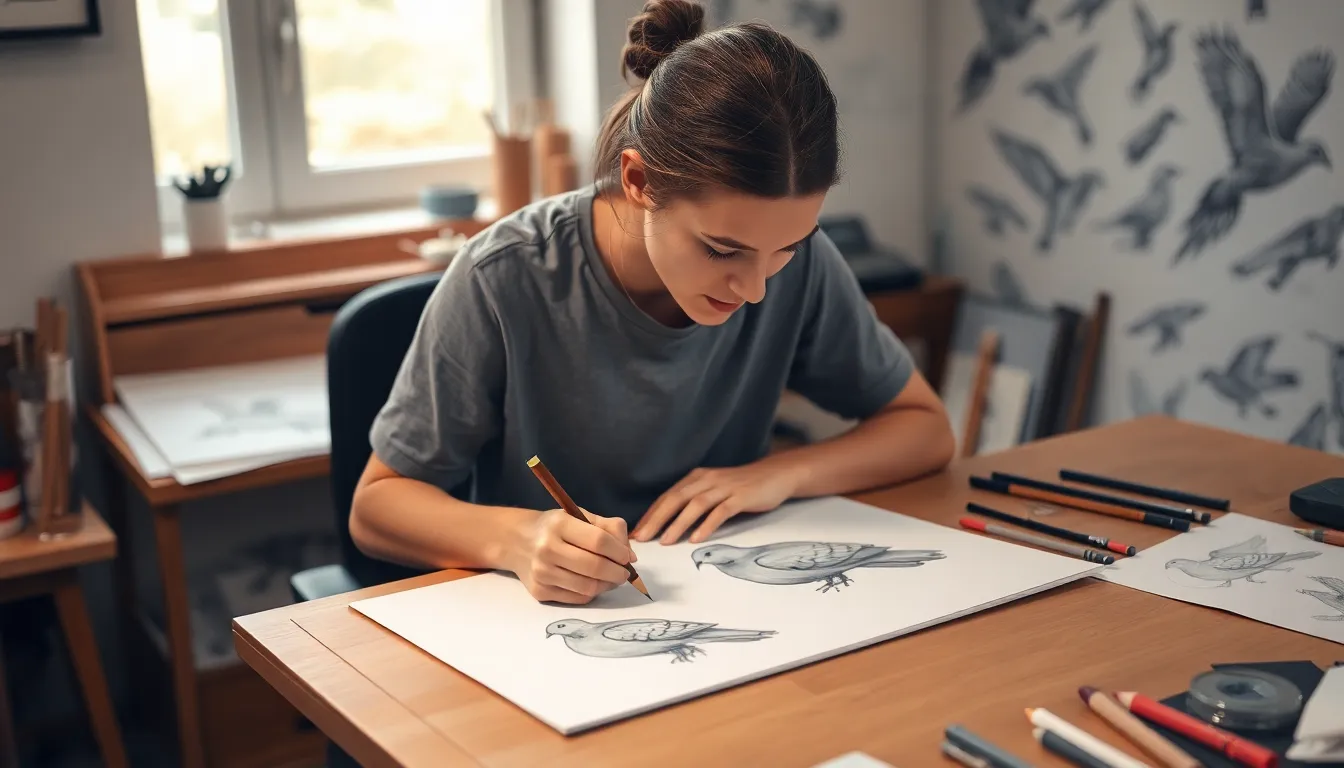
Drawing pencils ranging from H grades to B grades provide the versatility needed for dove illustrations. We recommend starting with a basic set including 2H, HB, 2B, and 4B pencils to achieve various line weights and shading effects. The harder H pencils create light initial sketches and fine details like feather textures, while softer B pencils build darker tones and shadows around the wings and body.
Paper selection significantly impacts the final dove drawing quality. Smooth drawing paper weighing 90-140 gsm works best for detailed feather work, allowing pencils to glide smoothly across the surface. We prefer medium texture paper for beginners since it provides enough tooth to hold graphite while remaining forgiving for corrections. Bristol board offers professional results when drawing intricate dove portraits or wildlife studies.
Paper size considerations affect composition planning and detail level. We suggest starting with 9×12 inch sheets to practice dove proportions without feeling cramped. Larger formats like 11×14 inches accommodate full body poses with extended wing spans, while smaller 8×10 inch sheets work perfectly for dove head studies and close up features.
Choosing the Right Erasers and Blending Tools
Kneaded erasers prove indispensable for dove bird drawings because they lift graphite without damaging paper fibers. We shape these malleable erasers into fine points to remove small marks or create highlights in the eye area. Their gentle action preserves delicate feather textures while allowing precise corrections throughout the drawing process.
White vinyl erasers handle heavier graphite removal when repositioning major dove body elements or wing positions. We keep these firm erasers sharp by cutting fresh edges with create knives. Their clean erasing action prevents smudging when adjusting dove proportions during initial layout stages.
Blending stumps create smooth tonal transitions essential for realistic dove plumage. We use various sizes from 2mm to 8mm diameter stumps depending on the area being blended. Small stumps work perfectly for subtle head feather gradations, while larger ones blend broad wing surfaces and body shadows effectively.
Tortillons offer more control than stumps when blending small dove features like beak details or eye surroundings. We prefer their pointed tips for precise work around delicate areas where finger blending might be too heavy handed. These tightly wound paper tools maintain their shape longer than stumps during extended drawing sessions.
Understanding Dove Anatomy for Accurate Bird Drawing
Mastering dove anatomy forms the foundation for creating realistic bird illustrations. We’ll explore the key anatomical features that make doves distinctive and graceful in flight and rest.
Head and Beak Proportions
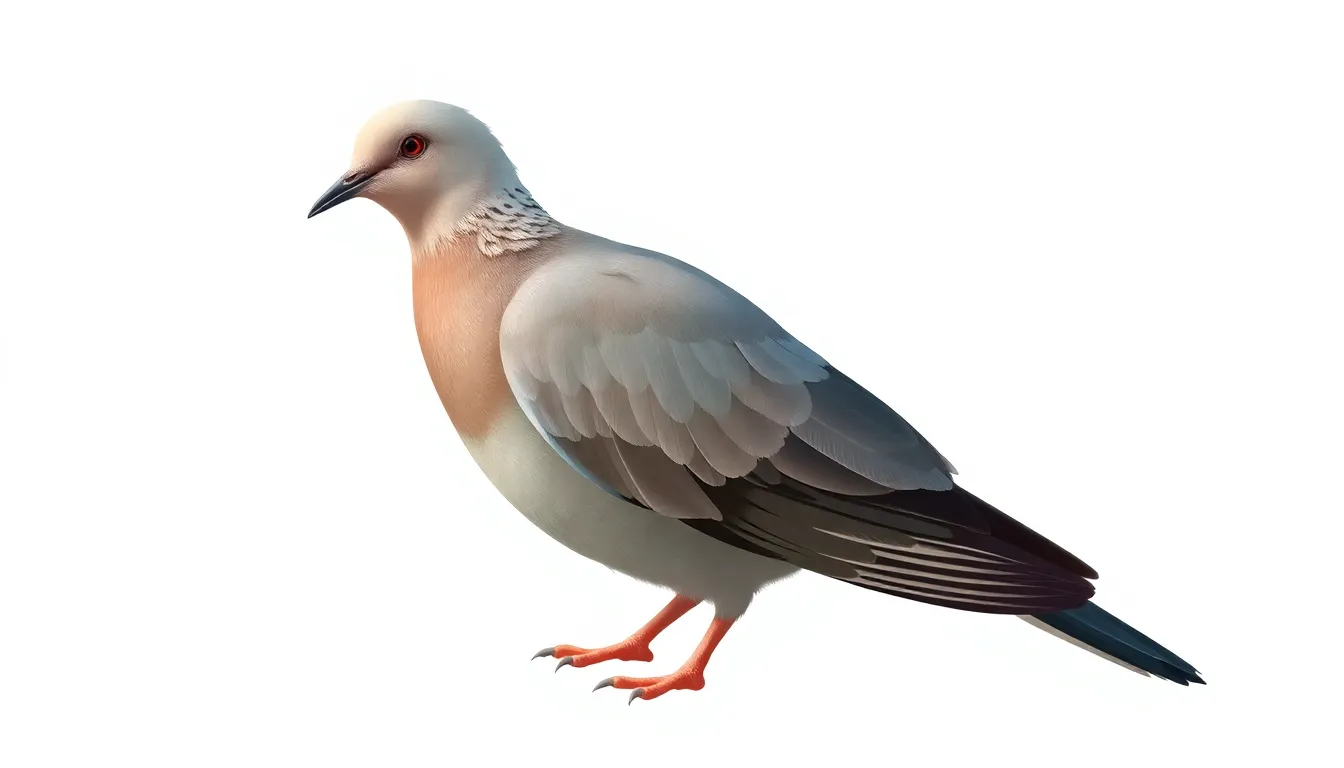
Head structure in doves follows a rounded, gentle contour that measures approximately one-third the length of the entire body. We notice the skull creates a smooth dome shape without sharp angles or pronounced ridges like other bird species.
Beak dimensions remain small and delicate, typically measuring about one-quarter of the head’s total length. The upper mandible curves slightly downward at the tip, while the lower mandible stays straight and proportionally thinner.
Eye placement sits roughly in the center of the head’s profile, positioned slightly forward from the skull’s midpoint. Dove eyes appear large and round, occupying nearly 15% of the head’s overall width when viewed from the side.
Nostril positioning occurs at the base of the beak within a soft, fleshy area called the cere. This feature distinguishes doves from many other bird species and creates a characteristic bulge above the upper mandible.
Wing Structure and Feather Placement
Primary feathers extend from the wing tip and number between 9 to 11 individual flight feathers. These longest feathers create the wing’s pointed appearance during flight and fold neatly against the body when at rest.
Secondary feathers attach to the inner wing section and provide lift during flight maneuvers. We count approximately 12 to 15 secondary feathers that overlap in a systematic pattern from the wing’s leading edge.
Wing coverts create the smooth, layered appearance of the upper wing surface through three distinct rows. The lesser coverts sit closest to the body, followed by median coverts, and finally the greater coverts near the flight feathers.
Scapular feathers cover the shoulder area where the wing attaches to the body. These specialized feathers blend seamlessly with the back plumage and help create the dove’s characteristic streamlined silhouette.
Body Shape and Tail Features
Torso proportions follow an oval shape that’s widest at the chest and gradually tapers toward the tail. The body length typically measures 2.5 times the head length, creating balanced proportions that appear neither too stocky nor too elongated.
Breast curvature creates a gentle arc from the throat to the belly, with the deepest point occurring just below the wing attachment. This rounded chest houses the powerful flight muscles essential for dove mobility.
Tail structure consists of 12 to 14 individual feathers arranged in a fan pattern. The central tail feathers extend longest, while the outer feathers graduate shorter to create the characteristic wedge shape during flight displays.
Leg positioning places the feet directly under the body’s center of gravity for optimal balance. Dove legs appear proportionally shorter than many bird species, measuring roughly equal to the head length from the body to the toes.
Sketching Simple Dove Bird Drawing Shapes
Building upon our understanding of dove anatomy, we’ll now transform that knowledge into basic shapes that form the foundation of our drawing.
Creating the Basic Body Oval
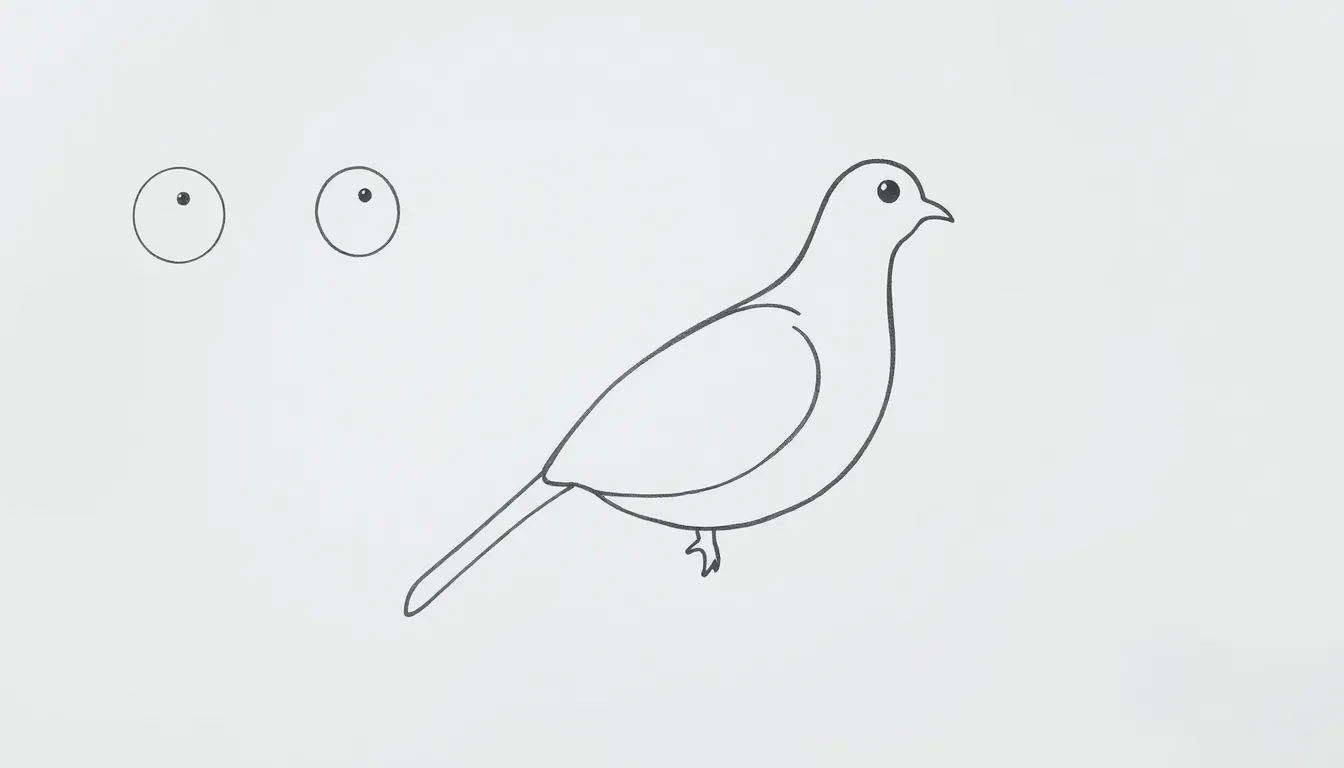
Start your dove drawing with an elongated oval positioned horizontally on your paper. This fundamental shape serves as the core structure for the dove’s torso and chest area. Make the oval approximately 2.5 times longer than it is wide to capture the dove’s characteristic body proportions.
Position the oval slightly below the center of your drawing space. This placement allows adequate room for the head, neck, and tail elements we’ll add later. The oval should tilt at a gentle 15-degree angle, with the front end slightly higher than the back.
Keep your initial lines light and loose using a 2H pencil. These construction lines will guide our detailed work later, so we don’t want them too dark or permanent at this stage.
Adding the Head Circle
Draw a circle that’s roughly one-third the size of your body oval. Place this circle at the front upper portion of the oval, slightly overlapping the main body shape. This circular form establishes the dove’s rounded head structure we discussed earlier.
Position the head circle so it extends beyond the body oval’s edge. The circle should overlap the oval by about 25% of its diameter, creating the natural connection point where the neck will blend into the body.
Maintain consistent proportions by measuring the head circle against your body oval. Use your pencil as a measuring tool, holding it at arm’s length to check that your head circle maintains the proper size relationship with the body shape.
Connecting Neck and Tail Guidelines
Establish the neck connection with two curved lines linking the head circle to the body oval. These guidelines should flow smoothly from the bottom of the head circle to the upper portion of the body oval, creating an elegant S-curve that captures the dove’s graceful neck posture.
Add a triangular guideline extending from the back of the body oval for the tail structure. This triangle should be approximately half the length of the body oval and positioned at a slight downward angle to show the tail’s natural droop when the dove is at rest.
Create wing placement guidelines by drawing two gentle curves along the sides of the body oval. These curved lines indicate where the folded wings will rest against the dove’s body, typically covering about 60% of the body oval’s length from front to back.
Drawing Realistic Dove Feathers and Textures
Mastering feather textures transforms basic dove sketches into lifelike artwork that captures the bird’s natural beauty. We’ll explore exact techniques for rendering different feather types across the dove’s body.
Layering Wing Feathers Properly
Primary feathers form the wing’s outer edge and require the most definition in your dove drawing. Start by sketching individual feather shapes using curved lines that follow the wing’s natural contour. Draw each primary feather with a slight overlap pattern, creating depth through careful layering techniques.
Secondary feathers sit closer to the body and appear softer than primaries. Use shorter, more rounded strokes to indicate these feathers, blending them smoothly into the wing coverts. Layer these feathers by drawing the back row first, then adding forward layers with increasingly lighter pressure.
Wing coverts create the smooth transition between body and flight feathers. Apply gentle curved strokes that follow the wing’s rounded shape, using your blending tool to soften harsh lines. These smaller feathers require subtle shading rather than individual definition.
Creating Soft Breast Feather Details
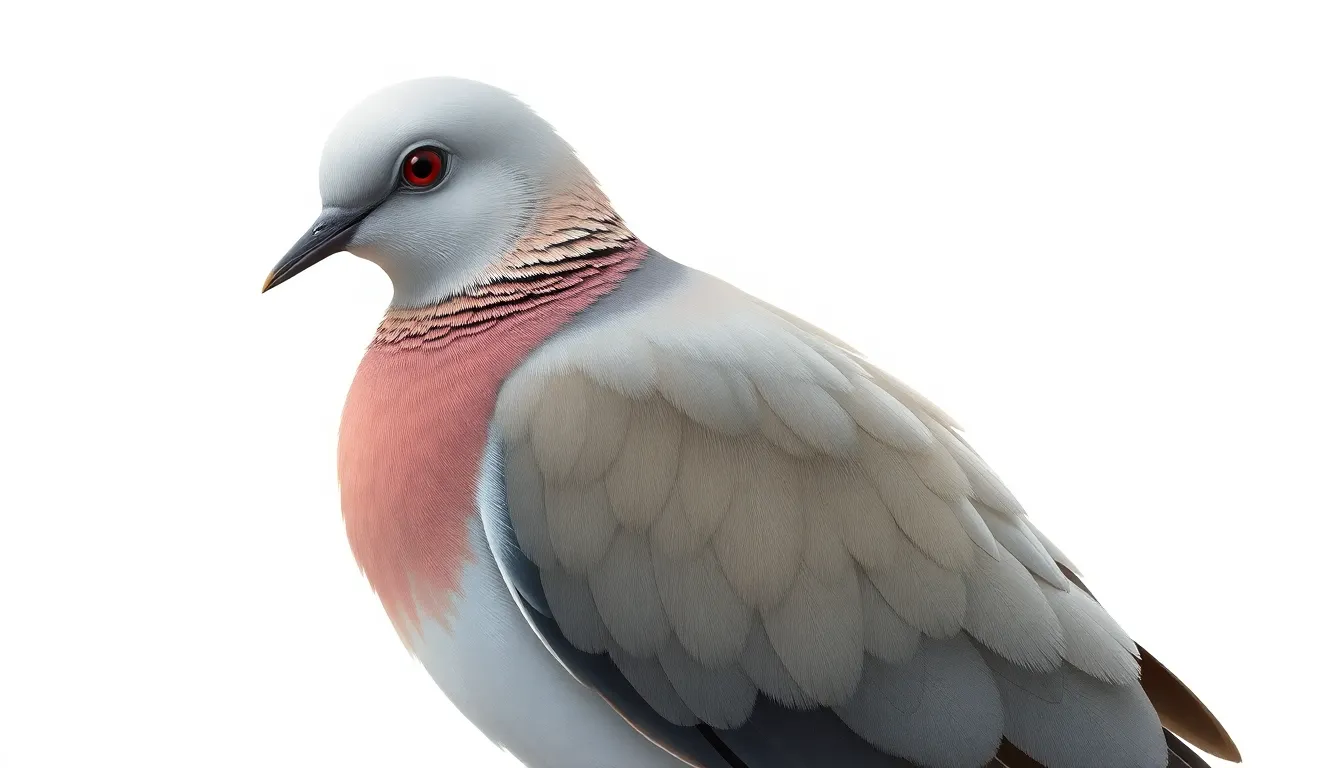
Downy breast feathers give doves their characteristic soft appearance and gentle curves. Use light circular motions with your pencil to create texture, varying pressure to suggest the fluffy quality of these feathers. Build up layers gradually rather than pressing hard initially.
Directional strokes should follow the natural growth pattern from the center outward. Begin each stroke at the body’s center line and curve outward following the dove’s rounded breast shape. This technique creates the authentic flow of dove plumage.
Blending techniques help achieve the soft, pillowy texture of breast feathers. Use a blending stump or tortillon to merge individual strokes, creating smooth transitions between light and shadow areas. Apply the lightest touch possible to maintain the delicate breast texture.
Adding Tail Feather Definition
Individual tail feathers require clear separation and distinct edges to show the dove’s fanned tail shape. Draw each feather with clean, decisive lines that taper to fine points. Space these feathers evenly across the tail’s width for proper proportions.
Overlapping patterns create realistic depth in the tail section of your dove drawing. Place the outer feathers slightly behind the center ones, using subtle shading to indicate which feathers sit forward. This layering technique adds three dimensional quality to your artwork.
Texture variations between tail feathers and body plumage help define different areas clearly. Use firmer pencil pressure for tail feather edges while keeping the interior areas softer. Contrast these defined tail feathers against the fluffy body texture for maximum visual impact.
Mastering Dove Bird Drawing Poses and Positions
Understanding different dove poses transforms basic sketches into ever-changing artwork that captures these graceful birds in their natural behaviors.
Standing Dove Side View
Standing doves showcase their characteristic body proportions with elegant simplicity. Position the dove’s body at a slight forward angle to create natural balance and visual interest. The head should sit proudly on the curved neck with the beak pointing slightly downward in a relaxed pose.
Draw the legs beneath the body’s center of gravity, placing one foot slightly forward of the other. This staggered stance creates stability and prevents your dove drawing from appearing stiff or unnatural. The tail feathers extend gracefully behind the body, fanning out in a subtle arc that adds movement to the composition.
Wing positioning requires careful attention in side view poses. Fold the wings against the body with primary feathers tucked neatly along the dove’s back. Secondary feathers should overlap slightly, creating natural layering that adds depth to your drawing. The wing tips typically extend to about three quarters of the tail length.
Flying Dove With Spread Wings
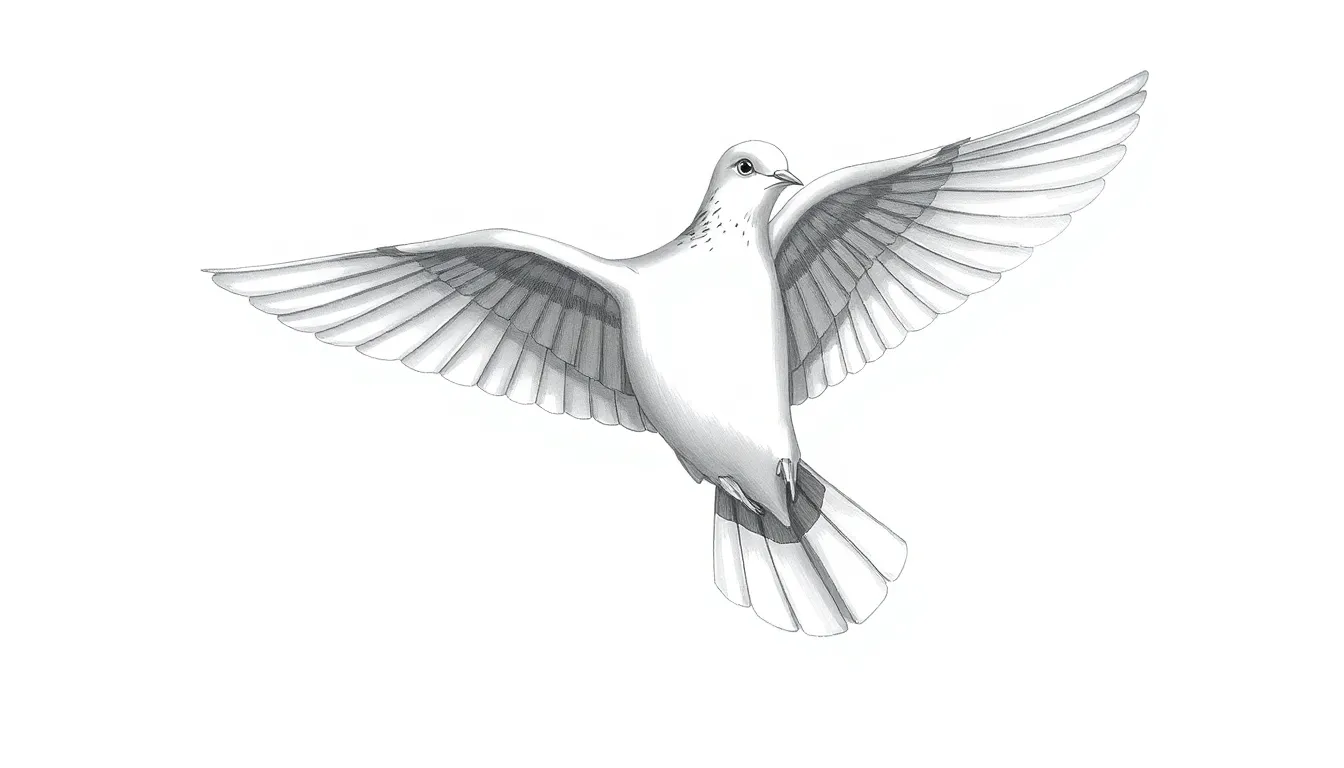
Flying doves present exciting opportunities to capture grace in motion through ever-changing wing positions. Extend both wings horizontally from the body, creating a majestic wingspan that emphasizes the dove’s aerial capabilities. The wings should curve slightly upward at the tips, mimicking the natural flex during flight.
Primary feathers spread wide during flight, creating distinct finger like projections at each wing tip. Draw these feathers with slight gaps between them to show air flowing through. Secondary feathers remain more compact, following the wing’s trailing edge with smooth, overlapping strokes.
Position the dove’s body at an upward angle to suggest ascending flight. The head points forward with purpose while the tail feathers spread for steering control. This pose requires understanding of how dove anatomy changes during active flight versus resting positions.
Body proportions shift dramatically in flight poses. The neck extends forward more than in standing positions, and the legs tuck close to the body for aerodynamic efficiency. These subtle adjustments create believable flying dove illustrations that capture authentic movement.
Perching Dove From Multiple Angles
Perching poses offer versatility for creating compelling dove compositions from various viewpoints. Front facing perching doves showcase the bird’s rounded breast and symmetrical wing positioning. Draw the body as a teardrop shape with the narrow end forming the tail area.
Three quarter angle perching positions combine elements from both side and front views. This challenging perspective requires careful attention to foreshortening, where the far wing appears smaller than the near wing. The dove’s head can turn toward or away from the viewer, creating captivating eye contact or mysterious profiles.
Rear view perching doves emphasize tail feather patterns and back wing details. This angle highlights the dove’s wing coverts and the way feathers layer across the bird’s back. The head typically turns to show the dove’s profile, preventing the drawing from becoming too static.
Branch interaction adds realism to perching dove drawings. Show the dove’s feet gripping the perch with curved talons, and position the body to suggest natural balance. The tail may hang freely or press against the branch for additional support, depending on the dove’s level of alertness or relaxation.
Adding Shading and Depth to Your Dove Bird Drawing
Transforming your dove sketch from flat to three-dimensional requires strategic shading techniques that create realistic depth. We’ll explore essential methods to add volume and dimension to your dove bird drawing using proven lighting approaches.
Light Source Placement Techniques
Establishing a consistent light source forms the foundation of effective dove shading. We position our primary light source at a 45-degree angle from the upper left corner to create natural shadows that follow the dove’s curved body structure. This placement mimics sunlight and produces the most realistic lighting effects on dove feathers.
Consider multiple light scenarios when planning your dove bird drawing composition. Direct overhead lighting creates dramatic shadows under the wings and body while emphasizing the rounded breast area. Side lighting from the right highlights one wing completely while casting the opposite wing in shadow for striking contrast.
Reflected light techniques add subtle illumination to shadowed areas of your dove drawing. We incorporate secondary light sources that bounce off surrounding surfaces to prevent completely black shadow areas. This approach maintains detail visibility in darker regions while preserving the overall three-dimensional effect.
Creating Shadow Under the Body
Ground shadows anchor your dove bird drawing to its environment and establish spatial relationships. We begin by identifying contact points where the dove’s feet or body touch the surface below. These areas receive the darkest shadow values in our composition.
Cast shadows extend outward from the dove’s body based on our established light source direction. The shadow shape mirrors the dove’s silhouette but appears compressed and distorted depending on the viewing angle. We use gradual value transitions to blend the shadow edges naturally into the background.
Body shadows occur on the dove itself where light doesn’t reach directly. The underside of the breast feathers requires medium-dark values while areas between wing layers need deeper shadows. We apply these internal shadows using smooth blending techniques to maintain the soft texture of dove plumage.
Highlighting Feather Edges
Edge lighting creates separation between overlapping feather layers in your dove bird drawing. We apply bright highlights along the top edges of wing feathers where light strikes most directly. These thin lines of brightness define individual feather shapes and prevent them from blending together.
Rim lighting outlines the dove’s entire silhouette with subtle bright accents. This technique works particularly well on the head crest and tail feather tips where the dove’s form meets the background. We keep these highlights delicate to maintain the dove’s soft appearance.
Texture highlights add realism to individual feather surfaces throughout the dove drawing. Small spots of brightness scattered across breast feathers create the appearance of down texture while longer streaks on wing feathers show their structural direction. We vary the intensity of these highlights based on the feather’s position relative to our light source.
Common Mistakes to Avoid in Dove Bird Drawing
Even experienced artists can stumble into common pitfalls when drawing doves. We’ll explore the most frequent errors that can transform beautiful dove illustrations into unnatural-looking birds.
Proportion Errors in Head Size
Making heads too large creates cartoon-like doves that lack realistic proportions. We see this mistake frequently when artists begin sketching without establishing proper body-to-head ratios. The dove’s head should measure approximately one-third the length of its body.
Drawing heads too small produces equally problematic results with bird-like creatures that appear unrecognizable as doves. Artists often compress the head when focusing intensely on wing and body details. A properly proportioned dove head sits comfortably between the shoulders without overwhelming the neck area.
Ignoring the rounded shape leads to angular or pointed heads that contradict the dove’s naturally soft appearance. We recommend using gentle curves throughout the head construction rather than sharp geometric lines. The crown should flow smoothly into the nape area without harsh transitions.
Unrealistic Wing Positioning
Attaching wings too high on the body creates an unnatural shoulder line that disrupts the dove’s graceful silhouette. Wings should connect at approximately the upper third of the body where the natural shoulder muscles would support them. This positioning allows for believable wing movement and realistic anatomical structure.
Positioning wings too low makes doves appear bottom-heavy and unable to achieve flight. We observe this error when artists attempt to center wings on the body’s middle section. Proper wing attachment points create balance and suggest the powerful flight muscles beneath.
Drawing symmetrical wings in action poses eliminates the ever-changing quality that makes dove drawings compelling. Flying doves require one wing positioned higher than the other to capture the natural wing beat cycle. Static poses can feature symmetrical wings but should still show slight variations in feather positioning.
Oversizing wing span transforms elegant doves into awkward flying creatures that seem incapable of controlled flight. A dove’s wingspan typically measures twice its body length from beak to tail tip. Excessive wing size overwhelms the composition and destroys the bird’s delicate proportions.
Overcomplicating Feather Details
Drawing every individual feather creates cluttered artwork that lacks the soft, unified appearance characteristic of dove plumage. We recommend suggesting feather groups rather than defining each feather separately. This approach maintains visual interest while preserving the dove’s smooth texture.
Adding excessive texture lines throughout the feather areas produces busy drawings that distract from the dove’s peaceful nature. Strategic feather definition works better when concentrated on key areas like wing edges and tail tips. Smooth breast areas should remain relatively simple with subtle shading variations.
Using harsh outlines around feather sections creates artificial boundaries that don’t exist in natural dove plumage. Feathers blend seamlessly into one another through soft transitions and overlapping patterns. Light pencil work and blending techniques achieve more realistic feather integration.
Ignoring feather direction flow results in random texture patterns that contradict natural growth patterns. Each feather group follows exact directional rules based on the dove’s anatomy and movement. Wing feathers angle backward while breast feathers curve around the body’s rounded form.
Advanced Dove Bird Drawing Techniques
Master these sophisticated dove drawing techniques to elevate your artwork from good to extraordinary. We’ll explore methods that professional artists use to create compelling and emotionally resonant dove illustrations.
Capturing Eye Expressions
Create emotional depth by mastering dove eye details that convey personality and mood. We start with the basic oval eye shape but focus on the pupil placement and surrounding features. Position the pupil slightly forward in the eye socket to create an alert, intelligent expression that draws viewers into your artwork.
Add catchlights strategically to bring life to dove eyes. We place small white highlights at the 2 o’clock position within the pupil area, using our eraser to create these bright spots. Multiple small catchlights work better than one large highlight for creating natural sparkle.
Develop the eye ring texture to enhance realism. We draw subtle lines radiating from the eye center, then blend them softly to mimic the delicate skin patterns around dove eyes. This technique adds sophisticated detail that separates advanced artwork from beginner drawings.
Vary eye openness to convey different emotions. We create sleepy, content doves by slightly closing the upper eyelid, while alert doves have wider, more circular eyes. Aggressive or startled expressions feature tension lines around the eye area.
Drawing Multiple Doves in Composition
Plan your composition using the rule of thirds for balanced dove groupings. We position our primary dove subject at intersection points of imaginary grid lines, then arrange secondary doves to create visual flow throughout the artwork. This approach prevents static, centered compositions that lack ever-changing energy.
Establish size relationships between foreground and background doves. We make foreground doves 30-40% larger than background birds to create natural depth perception. Middle ground doves should measure approximately 70% of the foreground dove size for realistic spatial relationships.
Create overlapping poses that show natural dove behavior. We draw doves preening each other, sharing food, or huddling together during cold weather. These authentic interactions tell stories and engage viewers emotionally with your dove artwork.
Vary dove poses within the same composition for visual interest. We include standing doves, perching doves, and flying doves in single artworks to demonstrate different aspects of dove movement and behavior. This variety prevents monotonous compositions while showcasing your technical range.
Adding Environmental Elements
Incorporate branch textures that complement your dove subjects without overwhelming them. We use rough, irregular lines for tree bark while keeping details subtle around the dove’s feet. Branch thickness should measure approximately one third of the dove’s body width for proportional accuracy.
Design backgrounds using atmospheric perspective principles. We make distant elements lighter and less detailed than foreground subjects, creating natural depth in dove habitat drawings. Background trees and foliage receive softer edges and reduced contrast compared to detailed dove feathers.
Add weather effects that enhance the mood of your dove drawings. We create rain using diagonal lines that follow consistent directional patterns, while snow requires small circular shapes with varying opacity levels. These elements should complement rather than compete with your dove subjects.
Include architectural elements like building ledges, fountain edges, or garden structures. We draw these hard surfaces using clean, straight lines that contrast beautifully with organic dove shapes. Urban doves perching on human made structures create compelling juxtapositions between nature and civilization.
Digital vs Traditional Dove Bird Drawing Methods
Choosing the right medium can significantly impact your dove drawing experience and final results. Both traditional and digital approaches offer unique benefits that can enhance your artistic journey.
Advantages of Pencil and Paper
Traditional pencil and paper methods provide immediate tactile feedback that helps us develop better pressure control and line confidence. Graphite pencils offer natural texture variations that perfectly capture the soft, organic feel of dove feathers. We can achieve subtle gradations by varying our pencil pressure, creating realistic shading that mimics the gentle curves of a dove’s body.
Paper texture becomes our ally when rendering dove feather details using traditional methods. Rough paper surfaces naturally break up pencil strokes, creating the irregular patterns we see in real dove plumage. Smooth papers allow for precise detail work, particularly when drawing the delicate features around dove eyes and beaks.
Erasing techniques work differently on paper, giving us more control over highlight creation. We can lift graphite to create natural-looking highlights on dove wing tips and create soft transitions between light and shadow areas. Kneaded erasers become sculpting tools, allowing us to shape and refine dove feather textures with precision.
Cost effectiveness makes traditional methods accessible to artists at any skill level. Basic pencils and paper require minimal investment compared to digital equipment, making it easier to practice dove drawing techniques regularly without financial pressure.
Digital Drawing Software Options
Adobe Photoshop remains the industry standard for digital dove illustrations, offering powerful brush engines that simulate natural pencil textures. Layer functionality allows us to separate dove wing details from body shading, making it easier to adjust individual elements without affecting the entire drawing. Custom brushes can replicate exact feather textures, streamlining our dove drawing workflow.
Procreate transforms tablet drawing into an intuitive experience for dove artists. Built-in pencil brushes respond to pressure sensitivity, creating natural line variations that rival traditional media. Time-lapse recording features let us document our dove drawing process, helping us analyze and improve our techniques.
Clip Studio Paint excels at detailed illustration work, particularly for dove feather rendering. Vector layers maintain crisp lines at any zoom level, perfect for creating clean dove silhouettes and precise wing details. Animation features open possibilities for creating dove flight sequences and movement studies.
Free alternatives like Krita and GIMP provide professional-grade tools without subscription costs. Brush stabilization features help create smooth, confident dove outline strokes, while layer blending modes offer creative possibilities for dove lighting effects.
| Software | Best For | Price | Key Feature |
|---|---|---|---|
| Adobe Photoshop | Professional illustrations | $20.99/month | Industry standard tools |
| Procreate | Tablet sketching | $12.99 one-time | Intuitive interface |
| Clip Studio Paint | Detailed artwork | $49.99/year | Vector capabilities |
| Krita | Budget-conscious artists | Free | Open-source flexibility |
Combining Both Techniques
Hybrid workflows maximize both mediums’ strengths when creating dove artwork. We can start with traditional pencil sketches to establish natural proportions and gestures, then scan these foundations for digital refinement. This approach preserves the organic feel of hand-drawn dove poses while leveraging digital tools for color and finishing touches.
Scanning traditional dove sketches opens digital enhancement possibilities without losing the original drawing’s character. We can adjust contrast levels to make pencil lines more prominent, clean up construction marks, and experiment with different dove color schemes using digital layers.
Digital underdrawings can guide traditional work, allowing us to plan dove compositions digitally before committing to paper. We can test multiple dove poses, lighting scenarios, and background elements digitally, then print light guidelines for traditional rendering. This method reduces paper waste while maintaining the tactile benefits of traditional drawing.
Reference photo manipulation becomes easier when combining techniques. We can digitally adjust dove reference images for better lighting or pose clarity, then use these enhanced references for traditional drawing sessions. Digital tools help us analyze dove anatomy and proportions before translating this knowledge to pencil and paper.
Practicing Your Dove Bird Drawing Skills
Consistent practice transforms dove drawing abilities from basic sketches to professional artwork. Regular exercises build muscle memory and improve observation skills essential for capturing dove characteristics.
Daily Sketching Exercises
Morning sketching routines establish drawing habits that enhance dove illustration skills. We recommend dedicating 15-20 minutes each morning to quick dove gesture drawings, focusing on capturing the bird’s essence rather than perfect details. Start with five 30-second poses to loosen your hand and develop confidence.
Speed sketching sessions improve your ability to capture dove movements and proportions quickly. Set a timer for two-minute intervals and draw different dove poses without lifting your pencil. This exercise trains your eye to identify key structural elements like the rounded head shape and wing positioning we discussed earlier.
Anatomical studies reinforce understanding of dove body structure through focused drawing sessions. Dedicate exact days to drawing dove heads, wings, or feet individually. Monday might focus on beak variations, Tuesday on wing feather patterns, and Wednesday on leg positioning and grip details.
Memory drawing challenges test your retention of dove characteristics without reference materials. After studying a dove photograph for two minutes, set it aside and draw from memory. Compare your sketch to the original and note areas needing improvement.
Using Photo References Effectively
High quality reference selection impacts the accuracy of your dove drawings significantly. We choose photographs with clear lighting that reveals feather textures and anatomical details. Avoid blurry images or photos with harsh shadows that obscure important structural information.
Multiple angle documentation provides comprehensive understanding of dove form and movement. Collect references showing doves from front, side, back, and three-quarter views. Flying poses require particular attention to wing positioning and body angle adjustments we covered in previous sections.
Lighting condition variety helps you understand how different environments affect dove appearance. Gather references showing doves in bright sunlight, overcast conditions, and golden hour lighting. Each scenario creates different shadow patterns and feather highlight effects.
Behavioral reference photos capture natural dove positions and interactions with surroundings. Document doves feeding, preening, walking, and interacting with other birds. These references provide authentic pose inspiration beyond basic standing or flying positions.
Digital organization systems streamline reference access during drawing sessions. Create folders labeled by dove species, poses, and lighting conditions. Tag images with keywords like “wing detail,” “head profile,” or “perching position” for quick searches.
Building a Drawing Portfolio
Progress documentation showcases your dove drawing skill development over time. We suggest scanning or photographing your work monthly to create visual progress records. Date each piece and note techniques practiced or challenges overcome during creation.
Variety demonstration displays your range of dove drawing abilities across different styles and approaches. Include realistic studies, stylized interpretations, and quick gesture sketches. Show both individual dove portraits and environmental compositions featuring multiple birds.
Quality selection criteria determine which drawings represent your best dove illustration work. Choose pieces that demonstrate strong anatomy understanding, effective use of shading techniques, and successful feather texture rendering. Include works showing different poses and lighting scenarios.
Presentation formatting affects how viewers perceive your dove drawing skills. Scan artwork at 300 DPI for crisp detail reproduction, and maintain consistent sizing for professional appearance. Create both physical portfolios for in person reviews and digital versions for online sharing.
Growth tracking metrics help identify areas requiring continued practice focus. Record drawing completion times, successful technique applications, and recurring challenge areas. Note which dove poses feel most comfortable and which require additional study sessions.
Conclusion
Drawing doves offers us endless opportunities to develop our artistic skills while creating meaningful artwork. We’ve explored everything from basic anatomy and materials to advanced shading techniques and composition strategies.
The key to mastering dove illustrations lies in consistent practice and careful observation. Whether we choose traditional pencil methods or digital tools each approach brings unique advantages to our creative process.
Remember that every artist’s journey is different. We encourage you to experiment with various techniques combine traditional and digital methods and most importantly enjoy the process of bringing these graceful birds to life on paper or screen.
Start with simple sketches today and watch your dove drawing skills soar to new heights.
Frequently Asked Questions
What materials do I need to start drawing doves?
You’ll need basic drawing pencils (2H, HB, 2B), quality drawing paper, erasers (kneaded and white), and blending tools like tortillons or blending stumps. These fundamental supplies will help you create detailed dove drawings with proper shading and texture effects.
How do I understand dove anatomy for realistic drawings?
Focus on key features: rounded head with delicate beak proportions, large round eyes, distinctive nostrils, and wing structure with primary and secondary feathers. Understanding body shape, tail features, and leg positioning helps create the dove’s characteristic silhouette.
What’s the best way to start sketching a dove shape?
Begin with an elongated oval for the body using light construction lines. Maintain proper proportions while establishing the graceful neck curve and wing placements. This foundational approach ensures accurate dove structure before adding details.
How do I draw realistic dove feathers and textures?
Layer wing feathers properly, starting with defined primary feathers using curved lines. Draw secondary feathers with shorter, softer strokes. Use light circular motions for breast feathers and directional strokes following natural growth patterns for realistic texture.
What are common dove drawing poses I should practice?
Master three essential poses: standing side view (focusing on body proportions and leg positioning), flying doves (with extended wings and motion), and perching doves from multiple angles. These positions showcase versatility and natural dove behaviors.
How do I add proper shading and depth to my dove drawings?
Establish a consistent light source first. Create strategic shadows on the ground and body while highlighting feather edges. Use various lighting scenarios to enhance three-dimensional effects and add volume to your dove illustrations.
What mistakes should I avoid when drawing doves?
Avoid proportion issues like oversized heads, unrealistic wing positioning, and overcomplicating feather details. Maintain proper body-to-head ratios, ensure natural wing attachment points, and suggest feather groups rather than detailing every individual feather.
What advanced techniques can improve my dove artwork?
Focus on capturing eye expressions through pupil placement and catchlights. Use the rule of thirds for composition, create overlapping poses for natural behaviors, and incorporate environmental elements like branches and atmospheric perspective for enhanced realism.
Should I use digital or traditional methods for dove drawing?
Both have unique benefits. Traditional methods offer tactile feedback and natural textures, while digital tools provide powerful enhancement features. Consider a hybrid workflow: start with traditional sketches and refine them digitally for maximum effectiveness.
How often should I practice drawing doves to improve?
Practice daily with quick gesture drawings and speed sketching sessions to build muscle memory. Use high-quality photo references from varied angles, document your progress, and focus on specific improvement areas to consistently enhance your dove drawing skills.

