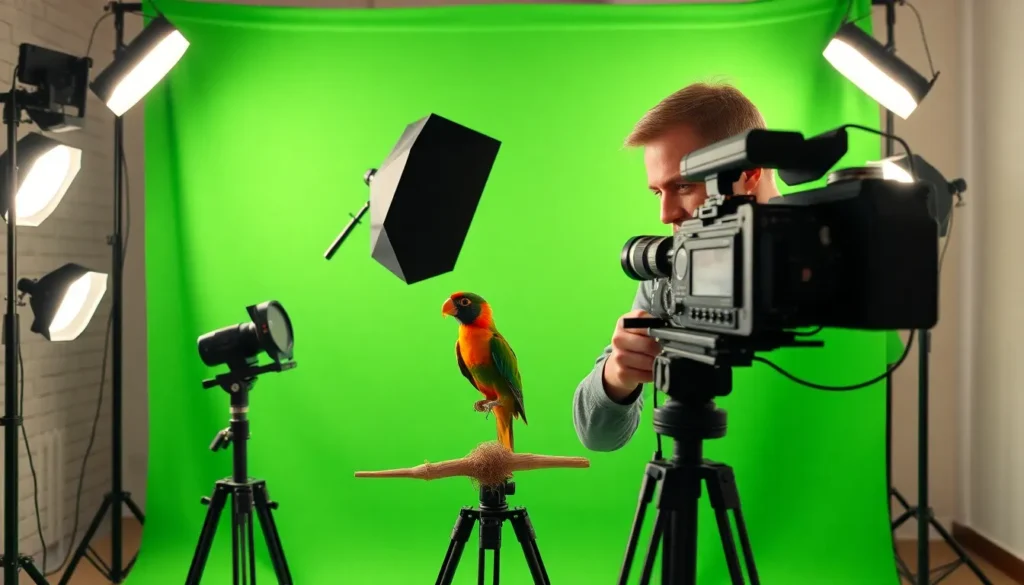
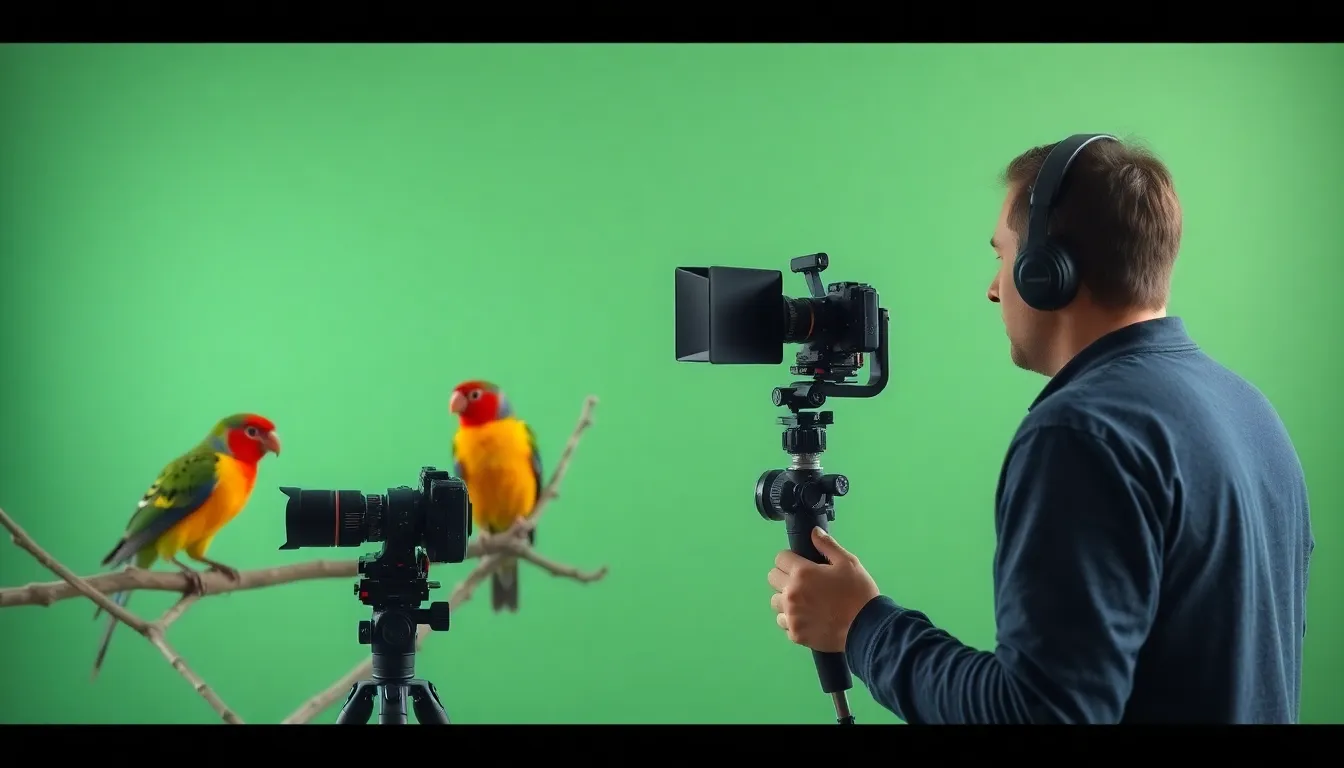
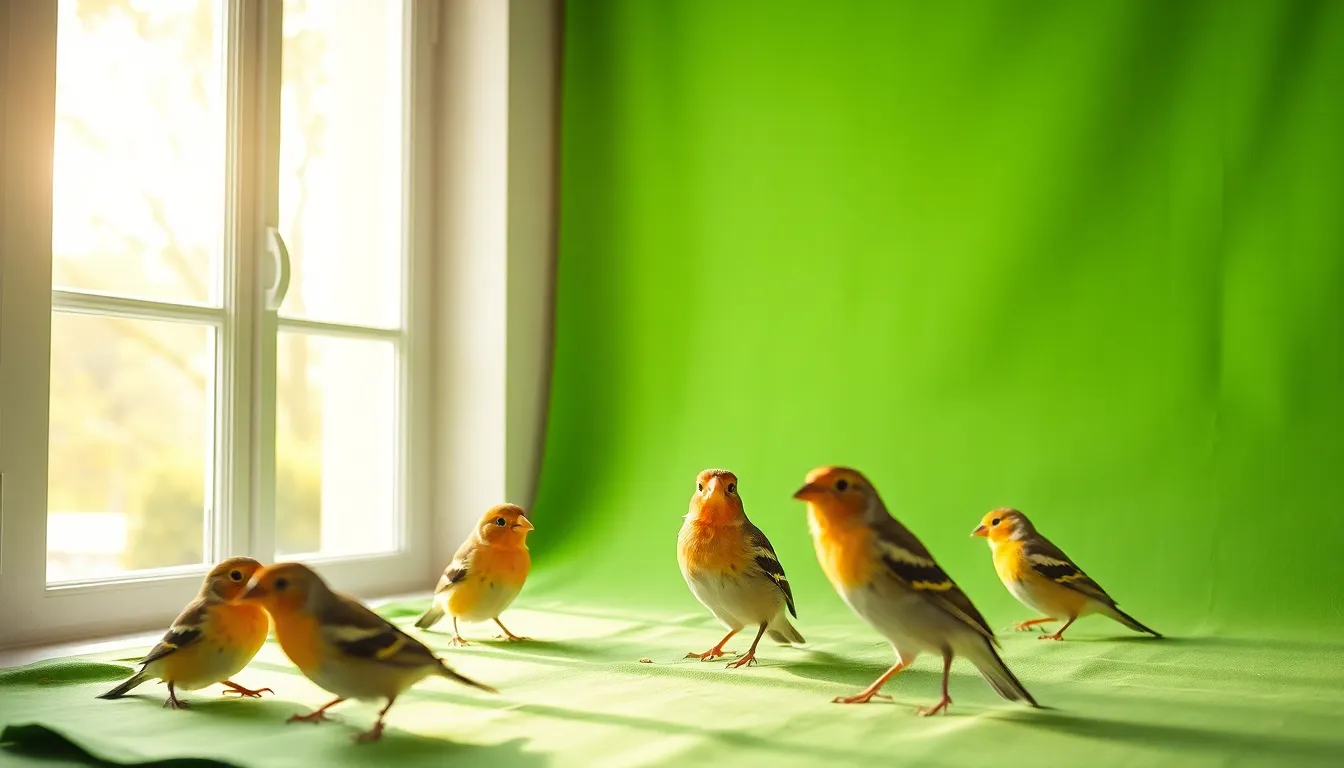
We’ve all seen those incredible wildlife documentaries where birds soar majestically across stunning landscapes – but did you know many of these breathtaking shots rely on green screen technology? Bird green screen techniques have revolutionized how filmmakers and content creators capture avian subjects without disturbing their natural habitats or risking expensive equipment.
Whether you’re working on a nature documentary, educational content, or creative projects featuring our feathered friends, mastering bird green screen opens up endless possibilities. From controlling lighting conditions to ensuring perfect shots every time, this technology lets us showcase birds in ways that would be impossible in the wild.
We’ll explore everything from essential equipment and setup techniques to post-production tips that’ll make your bird footage look professional and seamless. Get ready to discover how this game-changing approach can elevate your wildlife content to new heights.
Understanding Bird Green Screen Technology and Its Applications
Green screen technology transforms how we capture and showcase avian subjects in controlled environments. This innovative approach allows wildlife creators to combine real bird footage with stunning digital backgrounds seamlessly.
What Is Bird Green Screen Technology
Bird green screen technology uses specially designed chromakey setups to isolate avian subjects from their backgrounds during filming or photography. We use bright green backgrounds that contrast sharply with bird feathers and plumage colors, making digital separation possible during post-production.
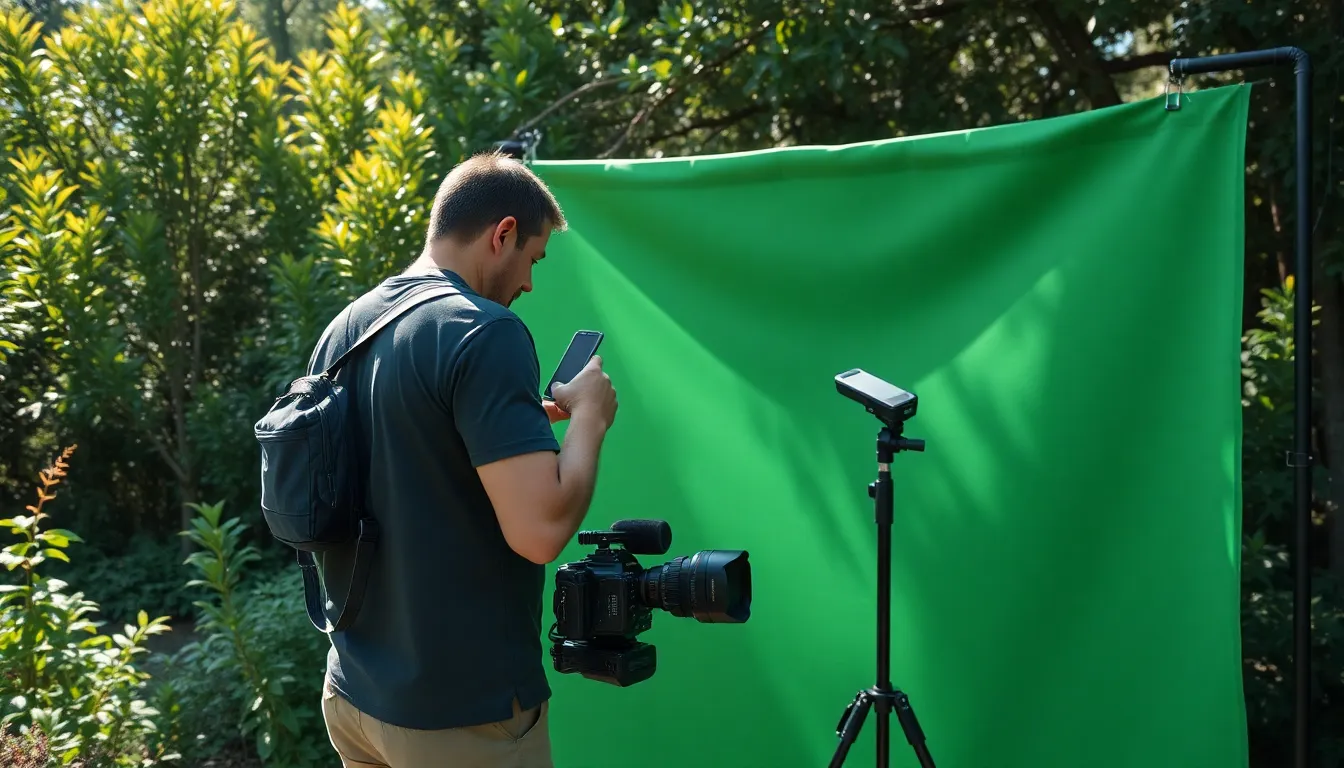
Professional bird green screen systems include weatherproof fabric panels, portable lighting rigs, and specialized camera equipment designed for outdoor wildlife work. These setups allow us to photograph birds in controlled environments while maintaining natural behaviors and movements.
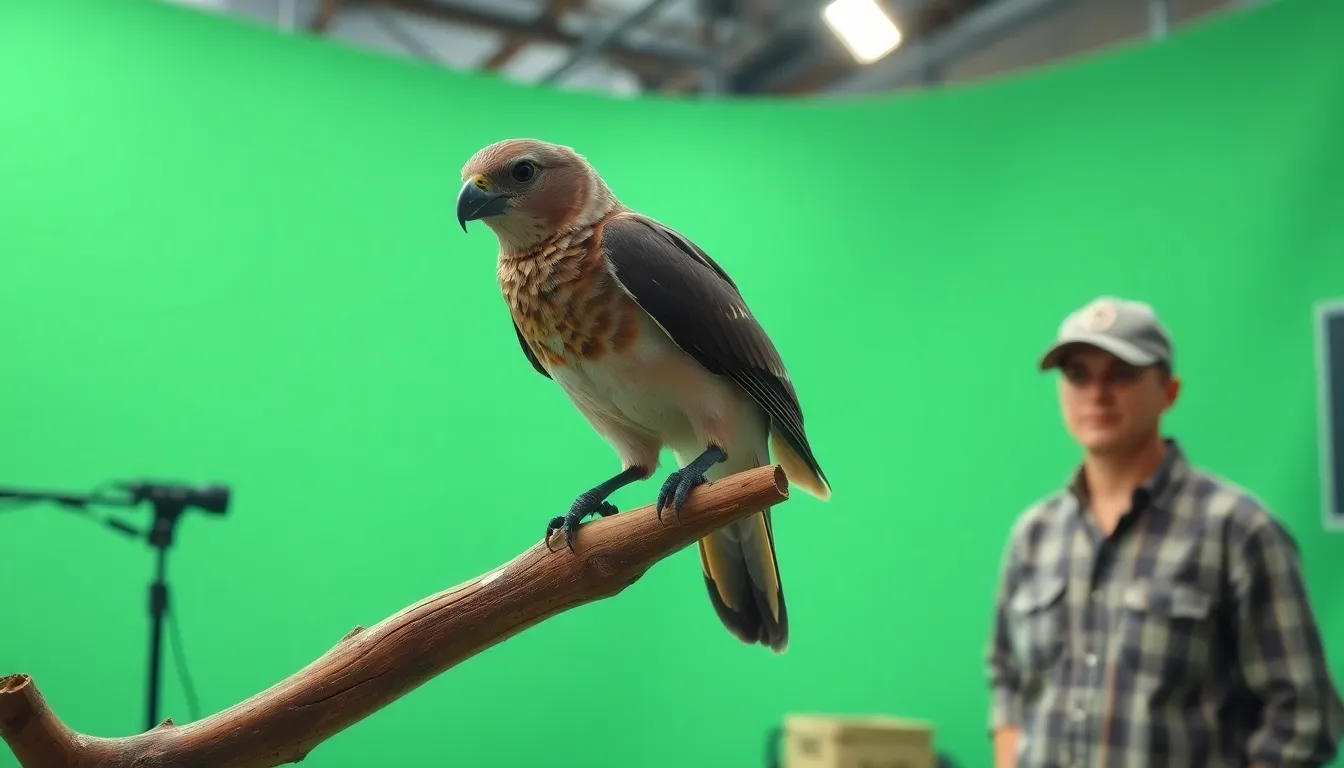
The technology works best with birds that have minimal green coloring in their plumage, such as cardinals, blue jays, and most raptors. We can capture detailed footage of feeding behaviors, flight patterns, and social interactions without environmental distractions.
How Green Screen Works for Bird Photography and Videography
Green screen photography relies on color separation algorithms that identify and remove exact color ranges from digital images. We set up portable green screens near bird feeders, nesting sites, or perching areas to create controlled filming environments.
Proper lighting ensures even illumination across the green background, preventing shadows and color variations that complicate post-production work. We use multiple LED panels or reflectors to eliminate hotspots and create uniform chromakey surfaces.
Camera settings require careful calibration to maintain sharp focus on bird subjects while keeping the green background slightly soft. We typically shoot at higher frame rates to capture wing movement details and use shorter exposure times to freeze rapid bird motions.
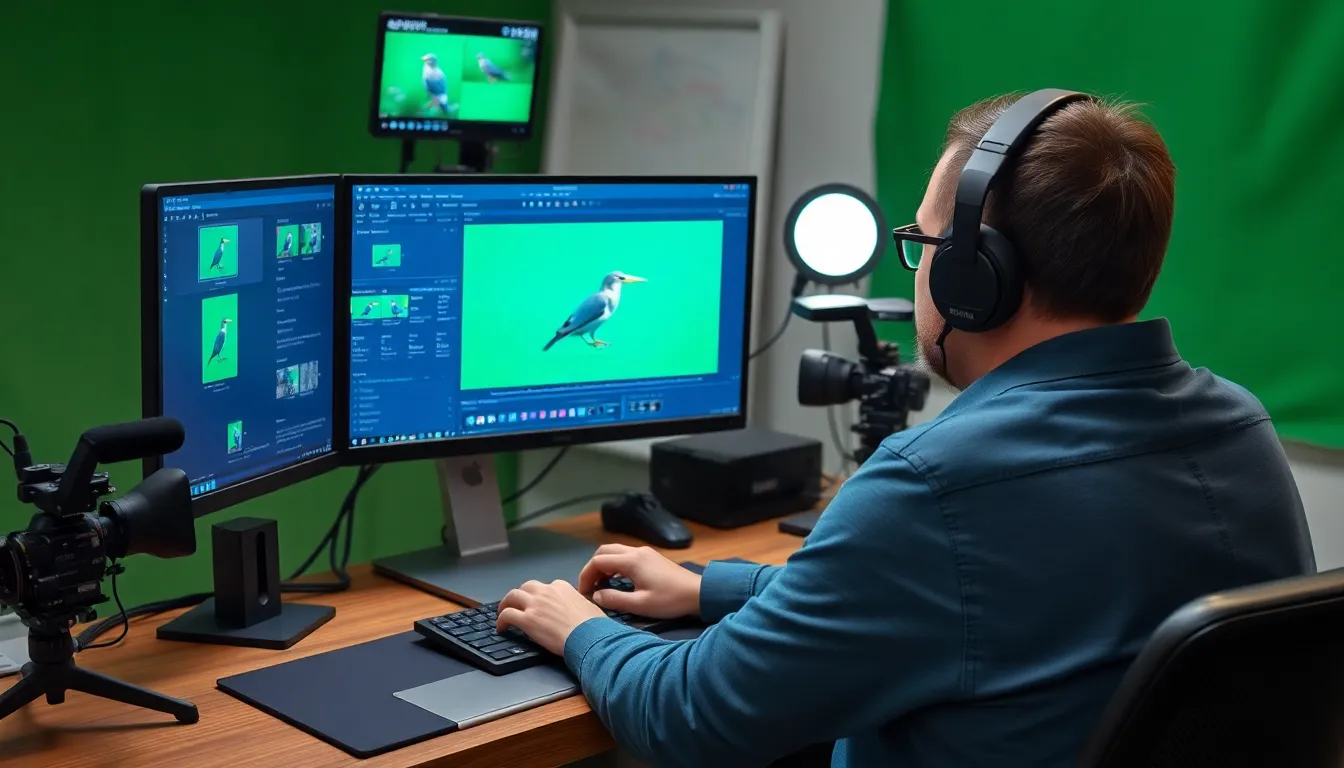
Digital compositing software like Adobe After Effects or DaVinci Resolve processes the captured footage by removing green pixels and replacing them with desired backgrounds. The keying process preserves fine details like individual feathers and maintains natural edge transparency.
Benefits of Using Green Screens with Birds
Creative flexibility represents the primary advantage of bird green screen technology, allowing us to place subjects in impossible or dangerous locations digitally. We can showcase arctic birds against tropical backgrounds or position backyard species in exotic wilderness settings.
Cost effectiveness makes green screen work attractive for educational and documentary projects with limited travel budgets. We can create diverse content without expensive location shoots or specialized permits required for sensitive wildlife habitats.
Ethical considerations favor green screen approaches since we avoid disturbing birds in protected areas or during breeding seasons. Our controlled environments reduce stress on subjects while still capturing authentic behaviors and movements.
Quality control improves significantly when we use green screen techniques because lighting, composition, and timing factors remain under our direct management. We can reshoot sequences easily and experiment with different background combinations during editing phases.
Essential Equipment for Creating Professional Bird Green Screen Content
Creating professional bird green screen footage requires exact equipment designed to handle the unique challenges of capturing avian subjects. We’ll guide you through the essential gear needed to achieve stunning results in your wildlife productions.
Choosing the Right Green Screen Material and Size
Muslin fabric backdrops offer superior performance for bird green screen work due to their seamless appearance and reduced reflection properties. We recommend selecting 10×12 foot muslin screens that provide adequate coverage for most bird species without creating unwanted shadows or hotspots.
Portable collapsible screens work best for outdoor bird photography sessions where mobility matters most. Professional wildlife filmmakers often choose 8×8 foot pop up screens made from wrinkle resistant chromakey fabric that maintains consistent color temperature throughout the day.
Avoid shiny or glossy materials that create unwanted reflections from bird movements and wing beats. We prefer matte finished screens with reinforced edges that prevent tearing during transport to remote filming locations.
Size requirements depend on your target bird species and planned camera angles for optimal coverage. Larger raptors need screens measuring at least 12×15 feet while smaller songbirds work effectively with 6×8 foot setups positioned strategically around perching areas.
Camera Equipment and Settings for Bird Filming
High speed cameras capture sharp bird footage at frame rates exceeding 120fps for detailed wing movement analysis. We use professional DSLR cameras with crop sensors that provide effective focal length multiplication for distant bird subjects without compromising image quality.
Fast autofocus systems track moving birds efficiently using continuous AF modes and customizable focus point configurations. Modern mirrorless cameras offer superior tracking performance with eye detection features specifically designed for wildlife photography applications.
Telephoto lenses ranging from 300mm to 600mm allow safe distances while maintaining intimate bird portraits against green screen backgrounds. We recommend image stabilization technology that compensates for camera shake during handheld shooting sessions in challenging outdoor conditions.
| Camera Setting | Recommended Value | Purpose |
|---|---|---|
| Shutter Speed | 1/1000s or faster | Freeze wing movement |
| ISO Range | 400-1600 | Balance noise and exposure |
| Aperture | f/5.6-f/8 | Maintain subject sharpness |
| Focus Mode | AI Servo/Continuous | Track moving birds |
Lighting Setup for Optimal Green Screen Results
Even lighting across the green screen surface eliminates shadows that complicate post production keying processes. We position three point lighting setups using LED panels rated at 5600K color temperature to match natural daylight conditions perfectly.
Key lights illuminate bird subjects from 45 degree angles while avoiding direct spillage onto green screen backgrounds. Professional setups include adjustable barn doors and diffusion panels that control light direction and intensity for consistent exposure values.
Fill lights reduce harsh shadows on bird plumage using softbox modifiers positioned opposite the primary light source. We maintain lighting ratios between 2:1 and 3:1 to preserve natural looking contrast without losing detail in darker feather areas.
Background lights prevent green screen color contamination by maintaining separation between subject and backdrop surfaces. Separate lighting circuits allow independent control over foreground and background exposure levels during filming sessions.
Preparing Your Bird for Green Screen Recording Sessions
Successful bird green screen filming requires careful preparation to ensure both animal welfare and production quality. We’ll explore essential techniques for creating a stress-free environment that produces professional results.
Training Your Bird to Stay Calm on Set
Gradual introduction to the filming environment reduces stress levels and improves footage quality. We recommend starting with short 10-15 minute sessions near the green screen setup without cameras rolling, allowing birds to acclimate to the new surroundings. Most birds adapt to unfamiliar environments within 3-5 exposure sessions when introduced gradually.
Positive reinforcement training using familiar treats and verbal cues helps maintain natural behavior during recording. We suggest using the bird’s preferred food rewards like sunflower seeds, millet, or small fruit pieces to encourage cooperation. Training sessions should occur 2-3 times daily for optimal behavioral conditioning.
Consistent routines before filming sessions establish predictable patterns that reduce anxiety. We maintain the same pre-recording schedule including feeding times, handling techniques, and environmental preparation to create familiarity. Birds respond better to green screen recording when their daily routine remains unchanged.
Safety Considerations for Birds During Filming
Temperature control maintains optimal conditions between 68-75°F to prevent thermal stress during extended recording sessions. We monitor ambient temperature using digital thermometers placed near bird perches, as lighting equipment can raise temperatures significantly. Overheating poses serious health risks including dehydration and heat exhaustion.
Escape prevention requires secure perch setups and controlled access points throughout the filming area. We install safety barriers at least 8 feet high around the green screen perimeter and cover all potential exit routes. Emergency containment protocols should include quick-access bird carriers positioned strategically around the set.
Lighting safety involves using LED fixtures that produce minimal heat compared to traditional tungsten bulbs. We position lights at safe distances exceeding 6 feet from bird locations and use diffusion materials to reduce glare intensity. Strobing or flickering lights can trigger panic responses and should be avoided completely.
Ventilation systems ensure adequate airflow without creating drafts that could affect bird comfort or green screen stability. We install quiet exhaust fans and air circulation equipment to maintain fresh air quality while preventing fabric movement that compromises recording quality.
Creating a Comfortable Environment for Your Feathered Star
Familiar perch materials from the bird’s regular habitat encourage natural posturing and movement during filming. We incorporate wooden branches, rope perches, or platform styles the bird uses daily rather than introducing new surfaces that might cause hesitation. Natural perch diameters should match the bird’s foot size for optimal grip security.
Strategic placement of water sources and favorite toys within camera range maintains comfort without disrupting green screen backgrounds. We position shallow water dishes and enrichment items like foraging toys at least 3 feet from the chromakey surface to prevent color contamination. Fresh water should be available throughout recording sessions.
Sound management minimizes startling noises from equipment operation and crew movement during active filming. We use sound blankets around noisy equipment and establish quiet zones within 15 feet of the recording area. Sudden sounds above 70 decibels can trigger flight responses that interrupt filming sequences.
Companion presence of familiar handlers or other birds can reduce isolation stress during solo recording sessions. We allow trusted caretakers to remain visible but outside the camera frame to provide emotional support. Some birds perform better with their usual companions nearby, even if they’re not participating in the filming.
Setting Up Your Bird Green Screen Studio Space
Creating the perfect bird green screen studio requires careful attention to spatial arrangement and environmental factors. We’ll guide you through positioning your equipment and designing a space that delivers professional results while keeping your feathered subjects comfortable.
Positioning the Green Screen for Maximum Coverage
Placement starts with measuring your available space to ensure complete backdrop coverage for all camera angles. We recommend positioning the green screen at least 6 feet from your subject area to prevent color spill and maintain clean edges during post-production keying.
Mounting options include portable backdrop stands for smaller birds like finches and canaries, while larger species such as hawks or owls require ceiling-mounted systems for adequate height coverage. Professional setups use curved backdrop configurations that eliminate visible seams and create seamless transitions from floor to wall coverage.
Distance calculations matter significantly when working with telephoto lenses, as compressed perspective can reveal backdrop edges in your final footage. We position our green screens to extend at least 3 feet beyond the widest camera angle on all sides, accounting for potential bird movement during filming.
Screen tension prevents wrinkles and shadows that create keying problems later in post-production. Proper stretching techniques using backdrop clamps or weighted sandbags ensure your muslin fabric remains taut throughout extended filming sessions.
Arranging Lighting to Eliminate Shadows and Hot Spots
Three-point lighting systems provide consistent illumination across your entire green screen surface while maintaining proper separation from your bird subjects. We position key lights at 45-degree angles approximately 8 feet from the backdrop to achieve even coverage without creating harsh shadows.
Background lighting requires separate attention from subject lighting to prevent uneven chromakey results during digital compositing. Dedicated backdrop lights positioned behind and to the sides of your filming area eliminate color variations that can compromise keying quality.
Diffusion materials soften harsh light sources and create the gentle illumination that birds prefer while maintaining technical requirements for green screen work. We use large softboxes or diffusion panels positioned at least 4 feet from both the backdrop and bird perching areas.
Light meter readings should remain consistent across all sections of your green screen surface, with variations no greater than half a stop between measurement points. Professional setups include multiple measurement locations to ensure uniform lighting distribution before beginning any filming session.
Creating Safe Perching Areas Within the Green Screen Zone
Perch selection focuses on natural materials like untreated wooden branches that provide secure footing without introducing unwanted colors into your green screen environment. We avoid metal perches that can create reflections or synthetic materials that might contain harmful chemicals.
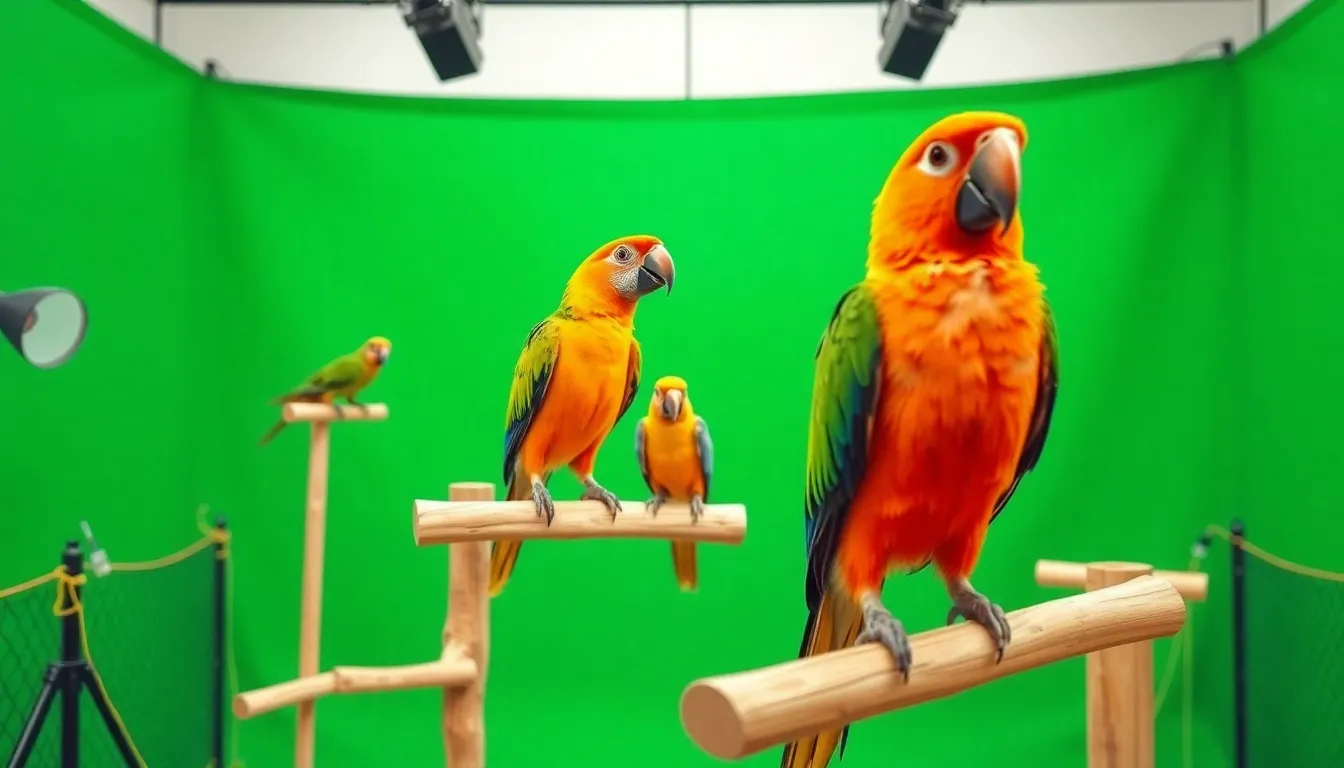
Strategic placement positions perches at varying heights within the green screen zone to accommodate different bird species and filming angles. Multiple perching options allow birds to choose comfortable positions while remaining within the properly lit filming area.
Safety barriers prevent accidental escapes during filming sessions by creating invisible boundaries that don’t interfere with camera work. We use fine mesh screens or transparent barriers positioned outside the camera’s field of view to maintain containment without compromising shot composition.
Environmental enrichment includes familiar objects like favorite toys or food dishes placed strategically within the green screen area to help birds feel secure. These comfort items should be green or easily removable in post-production to maintain clean keying results.
Filming Techniques for Capturing Perfect Bird Green Screen Footage
Now that you’ve established your bird green screen studio space, we’ll explore the crucial filming techniques that transform basic setup into professional-quality footage.
Camera Angles and Movement for Ever-changing Bird Shots
Eye-level positioning creates the most natural and captivating bird green screen footage by placing viewers at the bird’s perspective. We recommend positioning cameras at the bird’s eye height to establish an intimate connection with the subject while maintaining proper distance from the green screen backdrop.
Low-angle shots add dramatic impact to your bird green screen content by emphasizing the bird’s presence and creating powerful visual dynamics. These angles work exceptionally well for larger species like hawks or eagles, making them appear more majestic against your digital backgrounds.
High-angle perspectives capture natural bird behaviors such as feeding and preening activities that occur below the bird’s eye level. We position cameras slightly above the perching area to document these authentic moments without disrupting the bird’s comfort zone.
Multiple camera setups provide comprehensive coverage of bird movements within your green screen environment. Primary cameras capture front-facing shots while secondary cameras document profile views, ensuring you have diverse footage options during post-production compositing.
Subtle camera movements enhance the professional quality of your bird green screen recordings without causing stress to your subjects. Slow panning motions and gentle zooms create cinematic appeal while maintaining the controlled environment necessary for successful chromakey work.
Working with Different Bird Behaviors and Movements
Predictable behaviors like perching and preening offer the most reliable opportunities for capturing clean bird green screen footage. We observe each bird’s natural patterns to identify optimal filming windows when subjects remain relatively stationary against the backdrop.
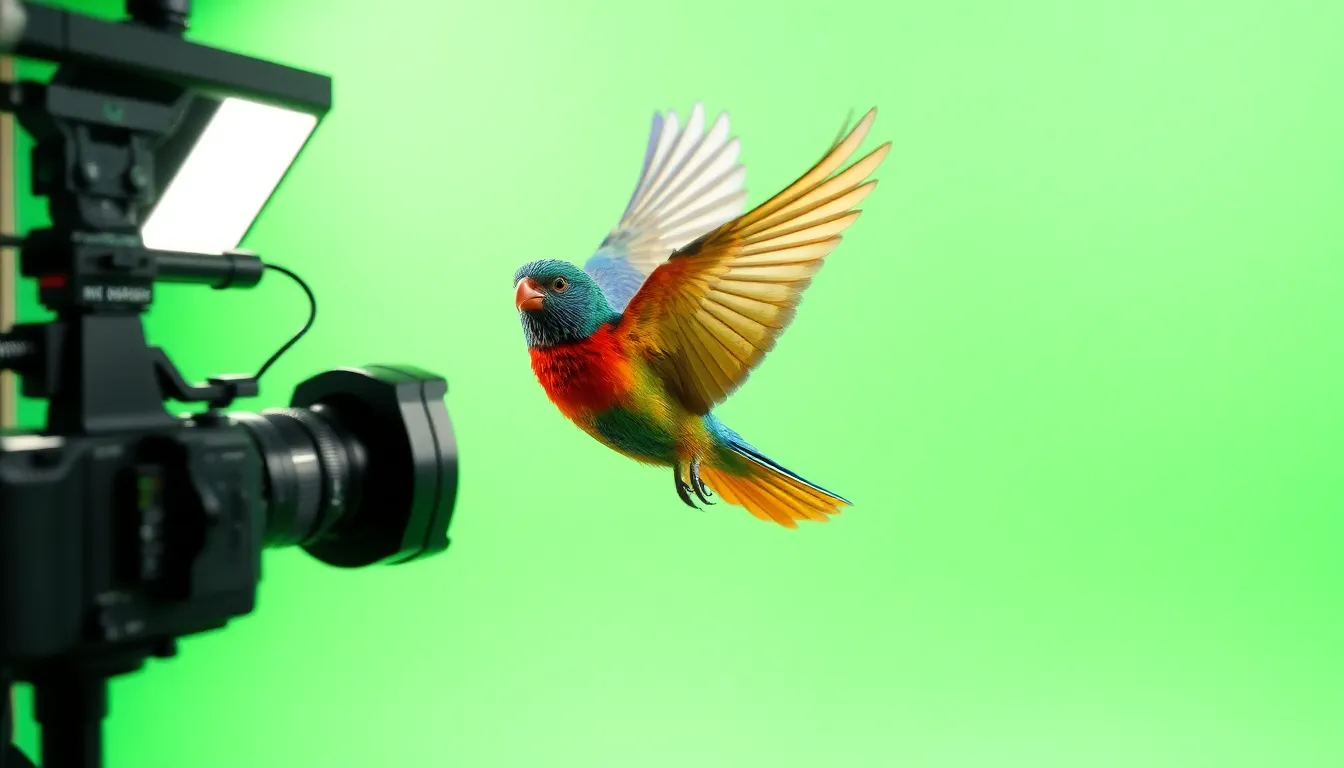
Flight sequences require specialized techniques to maintain proper green screen separation throughout rapid movement patterns. High-speed cameras set to 120fps or higher capture detailed wing movements while ensuring the bird remains within the green screen coverage area.
Feeding behaviors provide captivating content but require strategic food placement to keep birds positioned correctly within your filming zone. We use multiple feeding stations placed at varying distances from the green screen to encourage diverse shot compositions.
Territorial displays and vocalizations create compelling footage when properly captured within controlled green screen environments. These behaviors often occur during exact times of day, requiring patient observation and precise timing to document effectively.
Social interactions between multiple birds add complexity to green screen filming but produce exceptional results when executed properly. We maintain adequate space between subjects and the backdrop to prevent color contamination while capturing natural bird-to-bird dynamics.
Recording Multiple Takes for Best Results
Continuous recording sessions maximize your chances of capturing perfect bird green screen moments during unpredictable wildlife behavior. We recommend recording in 10-minute segments to manage file sizes while maintaining comprehensive coverage of bird activities.
Backup recordings protect against technical failures and provide alternative angles for post-production flexibility. Multiple camera systems running simultaneously ensure you never miss critical moments when birds display optimal positioning against the green screen.
Varied lighting conditions throughout recording sessions help identify the most effective setup for your exact bird subjects. We adjust lighting intensity and angle placement between takes to find optimal configurations for different bird colorations and movement patterns.
Documentation of successful takes streamlines the editing process by marking timestamp locations of premium footage. Detailed notes about camera settings, lighting conditions, and bird behavior help replicate successful shots in future filming sessions.
Quality assessment during filming prevents wasted time in post-production by identifying issues with green screen coverage or bird positioning. We monitor footage in real-time to ensure proper chromakey separation and make immediate adjustments when necessary.
Post-Production Tips for Bird Green Screen Video Editing
Successfully captured bird footage transforms into professional content through strategic post-production workflows. Our editing approach ensures seamless integration between avian subjects and digital environments.
Choosing the Right Software for Green Screen Removal
Adobe After Effects stands as our top recommendation for bird green screen editing due to its precision keying capabilities. The software’s Keylight plugin excels at separating complex bird feathers from green backgrounds with minimal color spill. DaVinci Resolve offers professional-grade color correction tools that maintain natural plumage tones during the keying process.
Final Cut Pro X provides excellent chromakey tools specifically optimized for organic subjects like birds. Its advanced edge refinement algorithms handle intricate wing details and fine feather separation with remarkable accuracy. Adobe Premiere Pro integrates seamlessly with After Effects for complex compositing workflows requiring multiple revision rounds.
Budget-conscious creators can use HitFilm Express for basic green screen removal tasks. The software handles simple bird shots effectively while maintaining acceptable quality standards for most projects. OpenShot serves as another free alternative for straightforward keying operations without complex edge refinement requirements.
Fine-Tuning Color Correction and Edge Refinement
Edge feathering requires delicate adjustment when working with bird subjects containing varying plumage densities. We set feather radius between 0.5 and 1.5 pixels to maintain natural transitions without creating artificial halos around wing tips. Color spill suppression removes green reflections that commonly appear on white breast feathers and light-colored plumage areas.
Matte choking helps eliminate thin green lines that persist around bird silhouettes after initial keying. Applying 1-2 pixel choke settings preserves essential wing details while removing unwanted background elements. Color replacement tools restore natural feather tones that may shift during aggressive green screen removal processes.
Shadow preservation maintains depth and dimensionality in bird footage through careful mask refinement. We create separate alpha channels for shadows and main subjects to control each element independently during compositing. Motion blur matching ensures wing movements blend naturally with background plate motion characteristics.
Adding Realistic Backgrounds and Environmental Elements
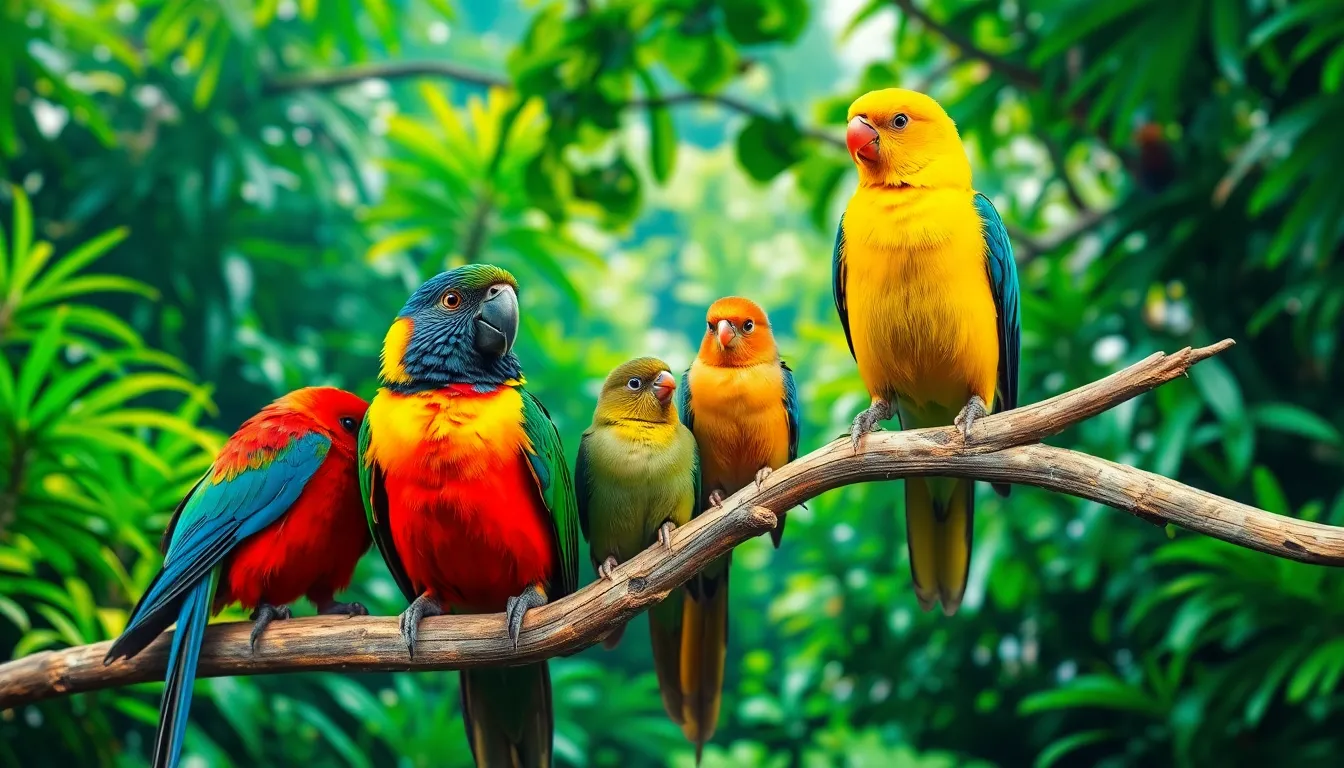
Natural habitat plates provide authentic environments that complement exact bird species and their behaviors. Forest canopies work exceptionally well for songbirds while wetland scenes enhance waterfowl footage dramatically. Depth of field matching ensures background blur levels correspond accurately with original camera settings used during bird filming.
Atmospheric elements like gentle wind effects and subtle particle systems enhance realism in composite shots. We add falling leaves for autumn scenes or light snow for winter environments to create convincing seasonal contexts. Lighting consistency between bird subjects and background plates prevents obvious compositing artifacts that break viewer immersion.
Scale accuracy maintains proper proportional relationships between birds and environmental elements. Reference objects like branches or rocks help establish correct size relationships within the composite frame. Color temperature matching ensures consistent lighting conditions between foreground birds and background environments for seamless integration results.
Creative Ideas for Bird Green Screen Projects
Bird green screen technology opens up endless possibilities for creative storytelling and professional content creation. We’ll explore innovative applications that showcase the versatility of this filmmaking technique.
Educational Content and Nature Documentaries
Educational institutions benefit tremendously from bird green screen projects that bring classroom lessons to life. We can transport students to Amazon rainforests, African savannas, or Arctic tundra by placing classroom birds against authentic habitat backgrounds. Teachers create immersive learning experiences by combining live bird demonstrations with digital environments that would be impossible to visit in person.
Nature documentaries gain unprecedented flexibility when filmmakers master bird green screen techniques. We position subjects in historically accurate environments, seasonal settings, or endangered habitats without disturbing actual ecosystems. Wildlife rehabilitation centers showcase recovery stories by filming rescued birds against their natural habitat backgrounds, creating powerful narratives about conservation efforts.
Museum exhibits come alive through interactive bird green screen installations. Visitors trigger motion sensors that activate displays showing birds in various global environments. We design these experiences to educate audiences about migration patterns, feeding behaviors, and habitat preservation while maintaining ethical wildlife practices.
Scientific research presentations use bird green screen footage to demonstrate behavioral studies. Researchers overlay measurement grids, trajectory paths, and analytical data onto clean bird footage, creating compelling visual evidence for academic publications and grant presentations.
Social Media Content and Viral Bird Videos
Social media platforms thrive on bird green screen content that combines humor with stunning visuals. We create trending videos by placing pet birds in unexpected scenarios like outer space adventures, underwater explorations, or famous movie scenes. TikTok creators use quick costume changes and background swaps to tell storytelling narratives featuring their feathered companions.
YouTube channels dedicated to bird care leverage green screen technology for product demonstrations. We film birds using toys, perches, and feeding accessories against branded backgrounds that reinforce channel identity. Educational bird channels create series episodes where hosts explain care techniques while birds demonstrate natural behaviors in digitally enhanced environments.
Instagram influencers produce seasonal content by matching bird green screen footage with holiday themes, weather patterns, and cultural celebrations. Pet bird accounts gain followers through creative collaborations where multiple birds appear together in fantasy landscapes or miniature worlds.
Meme creators capitalize on bird green screen templates that allow easy customization for trending topics. We develop shareable formats where users insert their own backgrounds behind popular bird behaviors like head bobbing, wing flapping, or curious head tilts.
Commercial Applications for Pet and Wildlife Brands
Pet food companies use bird green screen footage for advertising campaigns that showcase product benefits. We film birds enjoying exact diets against backgrounds that emphasize natural ingredients, organic farms, or pristine wilderness areas. Marketing teams create before and after sequences showing bird health improvements in various seasonal settings.
Wildlife conservation organizations produce fundraising materials using bird green screen technology to demonstrate habitat loss. We contrast birds in healthy environments with degraded landscapes, creating powerful visual narratives that motivate donations and volunteer participation.
Pet supply retailers feature product catalogs with birds using accessories in idealized home environments. Green screen technology allows consistent lighting and backdrop control while showcasing cage accessories, feeding systems, and enrichment toys across diverse domestic settings.
Veterinary clinics create educational materials showing healthy bird behaviors in comfortable environments. We film routine health checks and care procedures against calming backgrounds that reduce client anxiety about veterinary visits. Training videos for veterinary staff benefit from controlled green screen environments that highlight proper handling techniques without environmental distractions.
Travel companies specializing in birdwatching tours use green screen footage to create promotional materials. We combine client testimonials with stunning bird footage set against destination landscapes, creating aspirational content that drives bookings for wildlife photography expeditions and eco tourism packages.
Troubleshooting Common Bird Green Screen Challenges
Working with bird green screen setups presents unique technical challenges that require exact answers. We’ll explore the most common issues filmmakers encounter and provide proven methods to overcome them.
Dealing with Feather Transparency and Fine Details
Feather transparency poses the most important challenge in bird green screen work because delicate plumage allows background color to bleed through. We recommend increasing your shutter speed to 1/500th or faster to capture sharp feather detail without motion blur. Adjusting your camera’s ISO to 800-1600 maintains proper exposure while preserving fine feather textures.
Semi-transparent feathers require specialized keying techniques during post-production editing. We use multiple keying passes in software like After Effects, combining luminance keys with color difference keys to isolate translucent areas. Creating garbage mattes around solid feather sections helps preserve edge detail while removing background elements.
Edge refinement becomes critical when dealing with downy chest feathers or wing tips that appear fuzzy against the green screen. We apply edge choker effects at 0.5-1.0 pixel values to tighten loose edges without losing natural feather movement. Adding slight motion blur to composite edges helps blend transparent areas seamlessly with new backgrounds.
Backlighting techniques dramatically improve feather edge definition by creating rim lighting that separates birds from the green screen. We position LED panels behind and slightly above our subjects at 30-45 degree angles to illuminate feather edges without affecting the green screen’s color integrity.
Managing Color Spill and Reflection Issues
Green color spill affects white and light-colored birds more severely than darker species due to their reflective plumage surfaces. We position our green screens at least 8-10 feet from white birds like swans or egrets to minimize color contamination. Using matte finish green screen fabric instead of glossy materials reduces unwanted reflections significantly.
Iridescent feathers create complex reflection problems in species like mallards, peacocks, and hummingbirds because their plumage naturally shifts colors based on viewing angles. We adjust our lighting setup to use larger, softer light sources that minimize harsh reflections while maintaining adequate illumination levels. Polarizing filters on camera lenses help reduce metallic sheen from iridescent feathers.
Color correction in post-production removes stubborn green spill using selective color adjustments targeting the contaminated areas. We create masks around affected feather regions and apply color temperature shifts toward magenta to neutralize green casts. Using the color range selection tool isolates spill areas for precise correction without affecting the bird’s natural coloration.
Strategic lighting placement prevents most spill issues before they occur during filming. We angle our key lights at 45-degree angles to the green screen surface rather than pointing them directly at the backdrop. Adding flags or barn doors to our lighting equipment controls light direction and prevents unwanted bouncing onto bird subjects.
Handling Unpredictable Bird Movements During Filming
Rapid bird movements challenge even experienced green screen operators because subjects frequently fly outside the screen area or move too quickly for proper focus tracking. We use multiple camera setups with overlapping coverage zones to capture action from different angles simultaneously. Setting up secondary green screen panels on the sides of our main backdrop extends the usable filming area.
Continuous autofocus systems work better than single-shot focus modes for active bird subjects that constantly change positions within the frame. We configure our cameras to use wide area focus zones rather than single point focusing to track birds as they move across the screen. Back button focus techniques give us manual control over focus timing during critical flight sequences.
Perch training helps control bird positioning within the green screen zone by establishing preferred landing spots for subjects. We place multiple perches at varying heights and angles throughout the filming area, giving birds natural resting points while keeping them within our capture zone. Using positive reinforcement with food rewards encourages birds to remain in designated areas longer.
High frame rate recording captures fast wing beats and sudden movements that appear blurred at standard 24fps recording speeds. We film at 60-120fps for most bird action sequences, allowing us to slow down footage in post-production while maintaining smooth motion quality. This technique also provides more frame options when selecting the best moments for final edits.
Motion tracking software helps stabilize footage when birds move unpredictably during filming sessions. We use tracking points on stable background elements to compensate for camera shake or slight subject movements that affect green screen keying quality. Pre-planning our shots with backup coverage angles ensures we capture usable footage even when primary shots don’t work perfectly.
Budget-Friendly Alternatives for DIY Bird Green Screen Setups
Creating professional bird green screen content doesn’t require expensive equipment when you know the right alternatives. We’ll explore cost-effective answers that deliver impressive results without breaking your budget.
Creating Homemade Green Screen Answers
Fabric store materials offer excellent alternatives to professional green screen backdrops for bird filming projects. We recommend purchasing bright green cotton fabric from create stores, which costs significantly less than specialized chromakey cloth while providing similar results. Cotton sheeting works particularly well because it reduces wrinkles and creates smooth background surfaces essential for clean keying.
Poster board arrangements create effective temporary green screens for smaller bird species like finches and canaries. We’ve found that taping multiple bright green poster boards together forms seamless backgrounds measuring up to 8 feet wide. This solution costs under $20 and works perfectly for close-up bird portraits and feeding behavior documentation.
Paint answers transform existing walls or large cardboard sheets into permanent green screen surfaces for dedicated filming spaces. We suggest using bright green latex paint mixed with a matte finish to eliminate reflective hot spots that interfere with keying processes. This approach costs approximately $30 and creates durable backgrounds lasting multiple filming sessions.
Shower curtain alternatives provide waterproof green screen options ideal for outdoor bird filming or messy feeding scenarios. We’ve discovered that bright green vinyl shower curtains stretch easily and clean quickly after each use. These curtains attach to simple PVC frame structures using clip rings for portable setups.
Using Natural Lighting Instead of Professional Equipment
Window lighting serves as our primary recommendation for DIY bird green screen setups using available daylight sources. We position birds near large north-facing windows that provide consistent soft lighting throughout morning filming hours. This natural lighting eliminates harsh shadows while maintaining proper color temperature for accurate green screen keying.
Reflector modifications enhance natural lighting using common household materials like aluminum foil and white poster boards. We create custom reflectors by covering cardboard with foil to redirect sunlight onto our bird subjects. White foam boards positioned opposite the main light source fill in shadows and create even illumination across the green screen area.
Golden hour timing maximizes natural lighting quality for outdoor bird green screen filming sessions. We schedule our filming during the hour after sunrise or before sunset when light becomes soft and directional. This timing reduces the need for additional lighting equipment while creating beautiful rim lighting effects on bird feathers.
Cloud diffusion techniques take advantage of overcast conditions that naturally soften harsh sunlight for bird filming. We’ve learned that cloudy days provide consistent lighting conditions lasting several hours, eliminating the need for expensive diffusion panels or artificial lighting setups.
Free and Low-Cost Editing Software Options
DaVinci Resolve stands as our top recommendation for free professional-grade green screen keying capabilities in bird footage editing. This software includes advanced color correction tools and precise keying functions that rival expensive alternatives. We particularly appreciate its motion blur handling and edge refinement features for processing bird flight sequences.
| Software | Cost | Key Features | Best For |
|---|---|---|---|
| DaVinci Resolve | Free | Professional keying, color grading | Complex bird movements |
| OpenShot | Free | Basic keying, simple interface | Beginner bird projects |
| Shotcut | Free | Green screen filters, multi-track editing | Quick bird compilations |
| HitFilm Express | Free | Advanced compositing, visual effects | Creative bird presentations |
OpenShot provides user-friendly green screen removal perfect for beginners working with basic bird footage. We recommend this option for simple projects requiring straightforward background replacement without complex color correction needs. The software handles static perched birds exceptionally well with minimal learning curve requirements.
Shotcut delivers reliable green screen functionality through its chroma key filters designed for various filming conditions. We’ve successfully used this software to process bird footage captured under inconsistent lighting conditions. Its color adjustment tools help fine-tune keying parameters for optimal results with different bird species.
GIMP integration extends our editing capabilities by combining free photo editing with basic video processing for bird green screen projects. We use GIMP to create custom backgrounds and process individual frames requiring detailed attention. This combination approach works particularly well for scientific documentation and educational bird content creation.
Conclusion
We’ve explored the groundbreaking power of bird green screen technology and its potential to revolutionize your wildlife filmmaking projects. From budget-friendly DIY setups to professional studio configurations you now have the tools and knowledge to create stunning bird footage that respects animal welfare while achieving cinematic quality.
The techniques we’ve covered will help you overcome common challenges like feather transparency and unpredictable movements while opening doors to creative storytelling opportunities. Whether you’re producing educational content or commercial projects this technology offers endless possibilities for showcasing avian subjects in captivating ways.
Remember that successful bird green screen work combines technical expertise with patience and respect for your feathered subjects. With practice and the right approach you’ll create compelling content that engages audiences while contributing to wildlife conservation and education efforts.
Frequently Asked Questions
What is bird green screen technology and how does it work?
Bird green screen technology combines real bird footage with digital backgrounds using chromakey techniques. It utilizes bright green backgrounds that contrast with bird plumage, allowing for effective digital separation during post-production. This controlled environment approach lets filmmakers capture detailed bird behaviors without environmental distractions while maintaining creative flexibility for various settings.
What essential equipment do I need for bird green screen filming?
Essential equipment includes muslin fabric backdrops for seamless appearance, high-speed cameras with fast autofocus systems, telephoto lenses, and a three-point lighting setup. You’ll also need weatherproof fabric panels, portable lighting rigs, and digital compositing software. The screen size should match your bird species and camera angles for optimal results.
How do I prepare birds for green screen filming safely?
Gradual acclimatization is key to reducing bird stress. Use positive reinforcement training and maintain consistent routines. Ensure proper temperature control, prevent escape routes, and use safe lighting practices. Create natural perching areas within the green screen zone and allow birds time to adjust to the filming environment before recording begins.
What are the best camera settings for bird green screen footage?
Use high shutter speeds to capture sharp movement details, fast autofocus systems for tracking, and appropriate ISO settings to minimize noise. Position cameras at eye-level for natural shots or low angles for dramatic impact. Multiple camera setups ensure comprehensive coverage of unpredictable bird behaviors and movements.
Which software works best for bird green screen post-production?
Adobe After Effects offers precision keying capabilities for professional results. DaVinci Resolve, Final Cut Pro X, and other software provide excellent color correction and edge refinement tools. For budget-friendly options, consider free alternatives like OpenShot or Shotcut, which still deliver effective green screen keying and editing capabilities.
How do I solve common problems like feather transparency and color spill?
Address feather transparency by adjusting shutter speed and ISO settings, using specialized keying techniques, and employing backlighting to enhance edge definition. For color spill, maintain proper distance between birds and the green screen (at least 6 feet), use diffusion materials for gentle lighting, and apply color spill suppression during post-production.
Can I create a bird green screen setup on a budget?
Yes, use cost-effective materials like bright green cotton fabric, poster boards, or latex paint for DIY green screens. Utilize natural window lighting with reflector modifications instead of expensive equipment. Free editing software like DaVinci Resolve, OpenShot, or Shotcut can achieve professional-quality results without breaking your budget.
What creative projects can benefit from bird green screen technology?
Bird green screen technology excels in educational content, nature documentaries, museum exhibits, and scientific research presentations. It’s also valuable for social media content, commercial advertising for pet and wildlife brands, fundraising materials, and educational resources for veterinary clinics, offering unlimited creative storytelling possibilities.

